Introduction to Explainer Video Scripts
Explainer videos have emerged as a powerful tool for businesses, startups, and organizations worldwide.
They simplify complex ideas, intricate processes, or dense information into engaging and easily digestible content.
The true magic of explainer videos lies in their ability to transform mundane topics into engaging narratives, turning complicated concepts into straightforward explanations, and making tedious subjects captivating.
Great explainer videos start with well-crafted and creatively written scripts.
The script serves as the backbone of your explainer video, guiding its direction and flow. It’s the narrative that tells your story, sells your idea, and connects with your audience.
The Role of Structure
In this comprehensive guide, we will explore the main explainer video script structures that we like to use. These structures provide a framework to help you organize your ideas, deliver your message effectively, and engage your audience.
We’ll also provide a brief example using each of the frameworks.
To keep it simple and understandable, we’ll feature a brand that most of us know well: Uber.
Without further ado, let’s dive in.
1. Problem Agitation Solution (PAS)
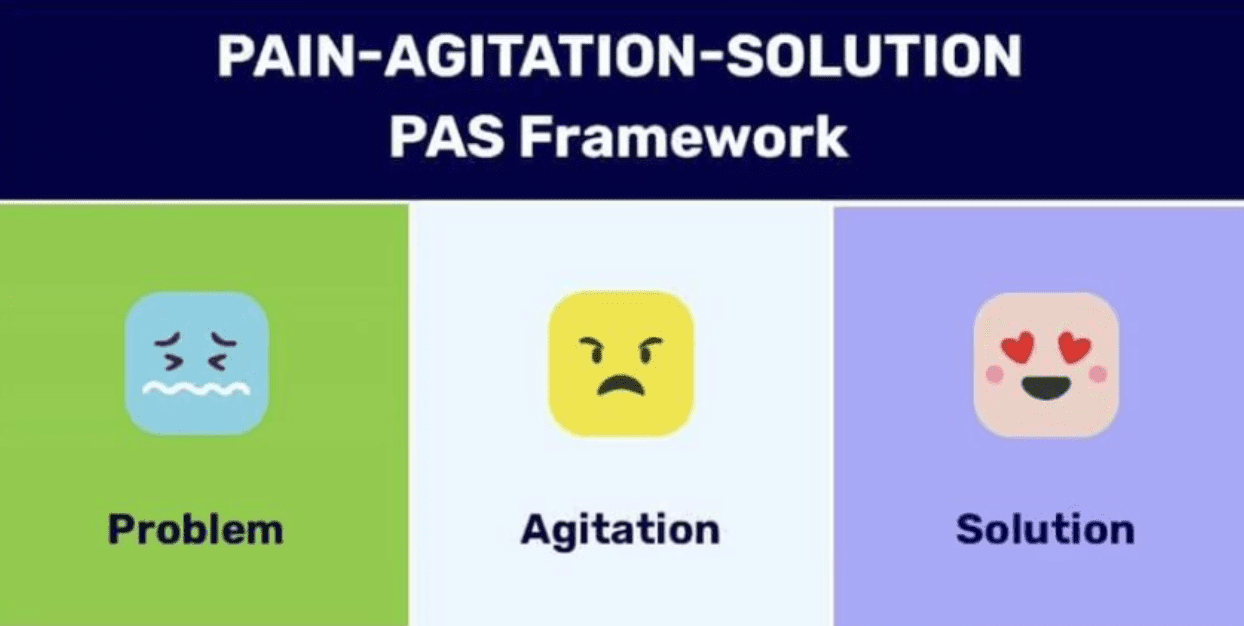
The PAS structure is a classic in marketing and sales. This persuasive storytelling technique revolves around three main elements: identifying a problem, agitating that problem, and then presenting a solution.
This structure works exceptionally well for explainer videos as it directly addresses the viewer’s pain points and offers a solution, creating an immediate connection and understanding.
1. Identifying the Problem
The first step is to pinpoint a specific issue that your target audience faces. This problem should be relevant and significant, something that they can easily recognize and relate to.
Clearly defining the problem captures the viewer’s attention and sets the stage for your message.
2. Agitating the Problem
Once the problem is identified, the next step is to delve deeper into it. Highlight the frustrations, inconveniences, and negative emotions associated with the problem.
This intensifies the issue, making it more pressing and urgent in the viewer’s mind.
3. Presenting the Solution
Finally, introduce your product or service as the ideal solution. This step should directly address the pain points and provide clear benefits. Present your solution in a compelling manner, showing how it can transform the viewer’s experience.
PAS Example:
“Are you tired of waiting for taxis that never show up on time? (Problem).
It feels like you’re wasting hours standing on the street corner, watching every cab pass by without stopping for you (Agitation).
But what if you could book a ride instantly from your phone and have it arrive within minutes? With Uber, you can. Our app connects you to reliable drivers at the tap of a button, saving you time and hassle (Solution).”
2. The Hero’s Journey
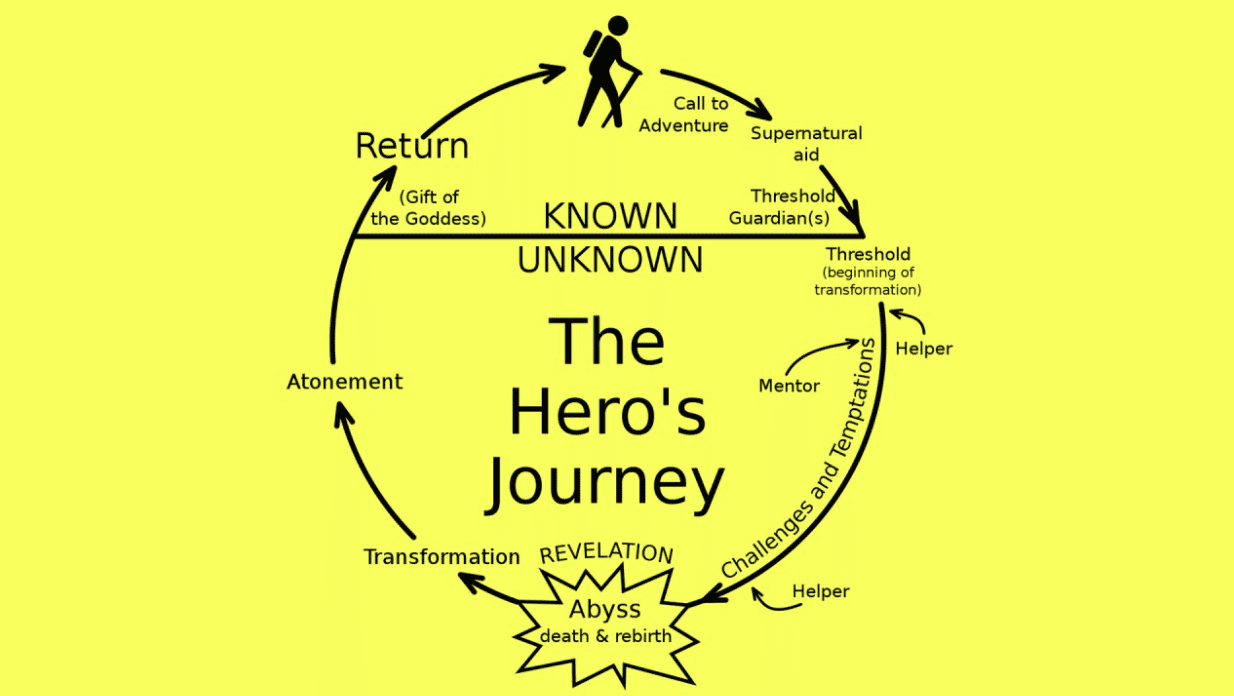
The Hero’s Journey is a narrative structure that has been used in storytelling for centuries.
It involves a hero who embarks on an adventure, faces and overcomes a crisis, and then returns home transformed.
This structure can be adapted to create compelling explainer videos that take the viewer on a journey, making them more invested in the story and, by extension, the product or service being explained.
1. The Hero’s Problem
Introduce the hero (your target audience) and their significant problem or challenge. This sets the stage for the journey and engages the viewer by presenting a relatable issue.
2. The Call to Adventure
The hero encounters something that prompts them to leave their ordinary world. This could be a discovery, an opportunity, or an urgent need, marking the beginning of their adventure.
3. The Adventure
The hero navigates through challenges and overcomes obstacles with the help of allies, tools, or newfound knowledge. This part of the journey highlights the process of overcoming the initial problem.
4. The Crisis + Resolution
The hero faces a major crisis that tests their resolve and abilities. Overcoming this crisis is a turning point in the journey, leading to the resolution of their problem.
5. The Transformation
The hero returns home transformed, having gained new insights, abilities, or benefits. This transformation shows the viewer the positive impact of the journey.
The Hero’s Journey Example:
“Jane is a frequent traveler who struggles to find reliable transportation in new cities (The Hero’s Problem).
One day, she discovers the Uber app (The Call to Adventure).
With Uber, Jane navigates every city with ease, knowing she can always count on a ride (The Adventure).
After experiencing the convenience and reliability of Uber, Jane’s travel woes are a thing of the past (The Transformation).”
3. Features-Advantages-Benefits (FAB)
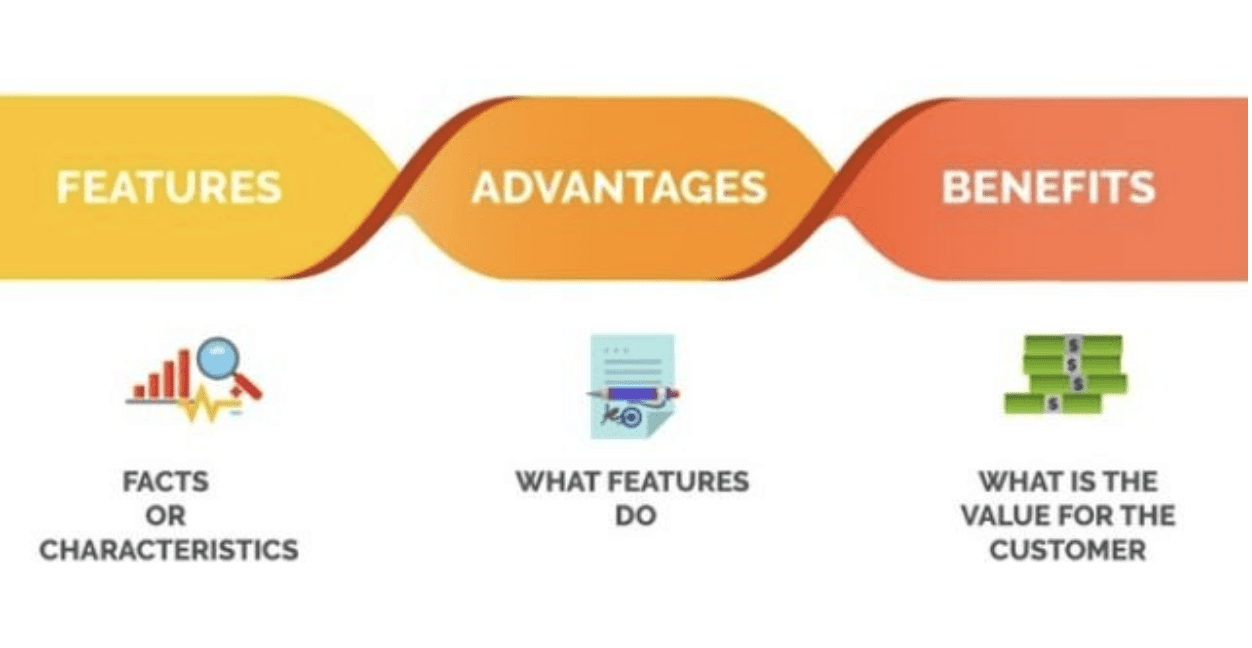
The FAB structure is a powerful way to showcase your product or service in your explainer video.
It involves highlighting the Features of your product, explaining the Advantages of these features, and then demonstrating the Benefits that the customer will receive.
1. Features
Start by highlighting the specific features of your product or service. These are the unique aspects that set it apart from competitors.
2. Advantages
Next, explain the advantages of these features. Describe why these features are beneficial and how they improve the product or service.
3. Benefits
Finally, demonstrate the benefits that the customer will receive. Show how these features and advantages will solve their problems or improve their lives.
FAB Example:
“Uber offers a user-friendly app interface (Feature), making it easy for anyone to book a ride in seconds (Advantage).
This means you can avoid the hassle of hailing a taxi on the street and enjoy a seamless transportation experience (Benefit).”
The FAB structure is particularly effective when you want to highlight the unique selling points of your product or service.
It allows you to showcase the specific features of your offering, explain why these features are advantageous, and demonstrate how they can benefit the customer.
4. AIDA (Attention, Interest, Desire, Action)
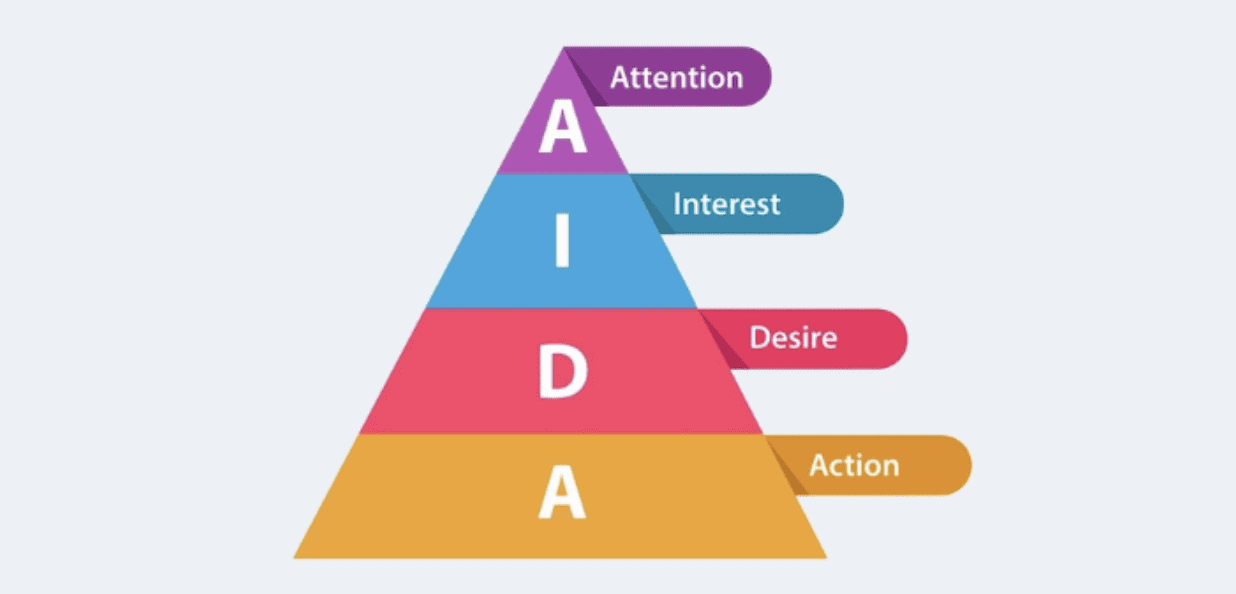
The AIDA structure is another popular choice for explainer video scripts.
It guides the viewer through a series of cognitive stages, from initial attention to final action. It stands for Attention, Interest, Desire, and Action, each representing a step in the viewer’s journey.
1. Attention
Begin by capturing the viewer’s attention. This could be through a startling fact, a compelling question, or an intriguing statement that relates to their needs or interests.
2. Interest
Next, build interest by providing more information about the problem or opportunity. Highlight the relevance and importance of the topic to keep the viewer engaged.
3. Desire
Create a desire for your product or service by showcasing its benefits and how it addresses the viewer’s needs. Use persuasive language and visual elements to make the viewer want what you’re offering.
4. Action
Finally, prompt the viewer to take action. This could be visiting your website, signing up for a free trial, or contacting your sales team. Make sure the call to action is clear and compelling.
AIDA Example:
“Ever felt stranded when you can’t find a ride home late at night? (Attention).
Uber makes it easy to get a ride anytime, anywhere (Interest).
Imagine the peace of mind knowing you can always get a safe, reliable ride with just a few taps on your phone (Desire).
Why wait? Download the Uber app today and experience the convenience for yourself (Action).”
5. The 5W’s (Who, What, When, Where, Why)
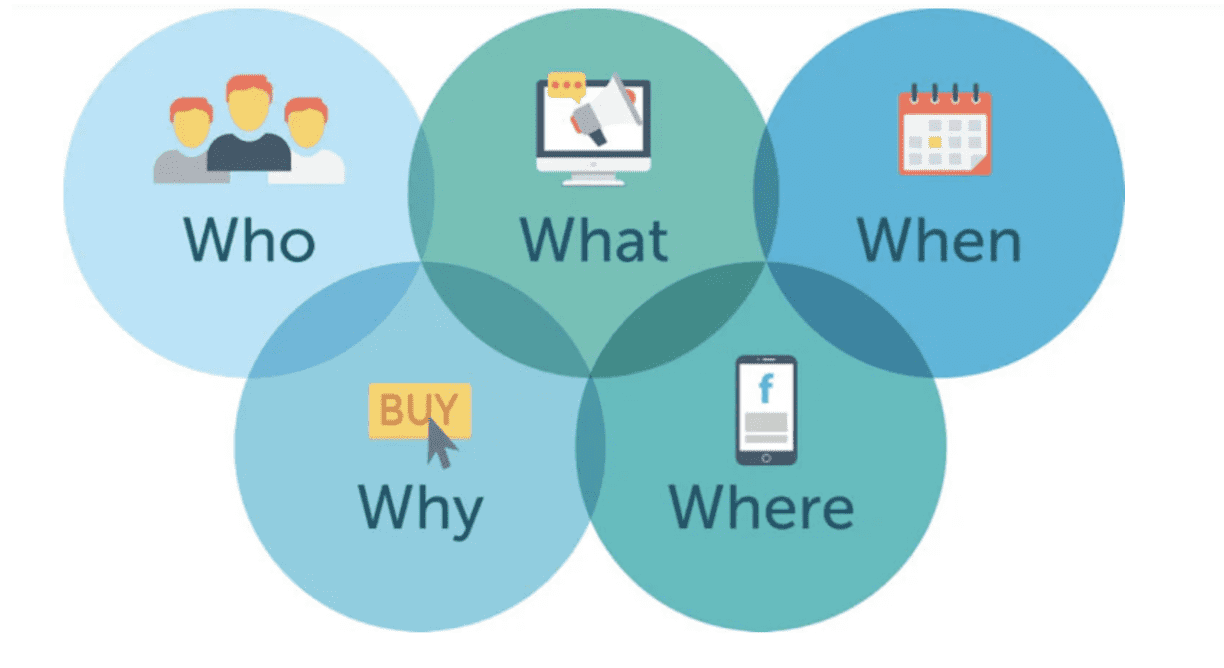
The 5W’s structure is a simple yet effective way to ensure your explainer video covers all the necessary information. It involves answering the questions Who, What, When, Where, and Why.
1. Who
Identify who you are or who your product/service is for. This establishes the context and relevance for the viewer.
2. What
Explain what your product or service does. This provides clarity and sets the stage for further details.
3. When
Indicate when your product or service is available or when it can be used. This adds a temporal element that can enhance relevance.
4. Where
Specify where your product or service is available or where it can be used. This helps the viewer understand the scope and accessibility.
5. Why
Finally, explain why the viewer should care. Highlight the benefits and importance of your product or service to create a compelling case.
5W’s Example:
“We’re Uber, the world’s leading ride-sharing platform (Who).
We connect riders with reliable drivers through our easy-to-use app (What).
When can you use our services? Anytime you need a ride, day or night (When).
We’re available in cities worldwide, so you can count on us wherever you go (Where).
Why choose us? Because we provide fast, reliable, and convenient transportation at the tap of a button (Why).”
6. The Comparison

The Comparison structure involves comparing your product or service with a common problem or a competitor’s offering. This structure can highlight the unique selling points of your product or service and show viewers why they should choose you.
1. Identify the Common Problem or Competitor
Begin by identifying a common problem that your audience faces or a competitor’s offering that is widely known. This sets the stage for your comparison.
2. Highlight the Issues
Next, highlight the issues or limitations associated with the common problem or competitor’s offering. Be specific and relatable to make the comparison meaningful.
3. Present Your Product or Service
Introduce your product or service as a better alternative. Explain how it addresses the issues or limitations highlighted earlier.
4. Showcase the Benefits
Finally, showcase the benefits of choosing your product or service over the common problem or competitor’s offering. Use clear and compelling language to make your case.
Comparison Example:
“Think of your typical taxi experience: long waits, unpredictable arrival times, and cash-only payments.
With Uber, you get a reliable ride at the tap of a button, real-time tracking, and a cashless payment system. It’s a clear choice for modern transportation.”
7. Before-After-Bridge (BAB)
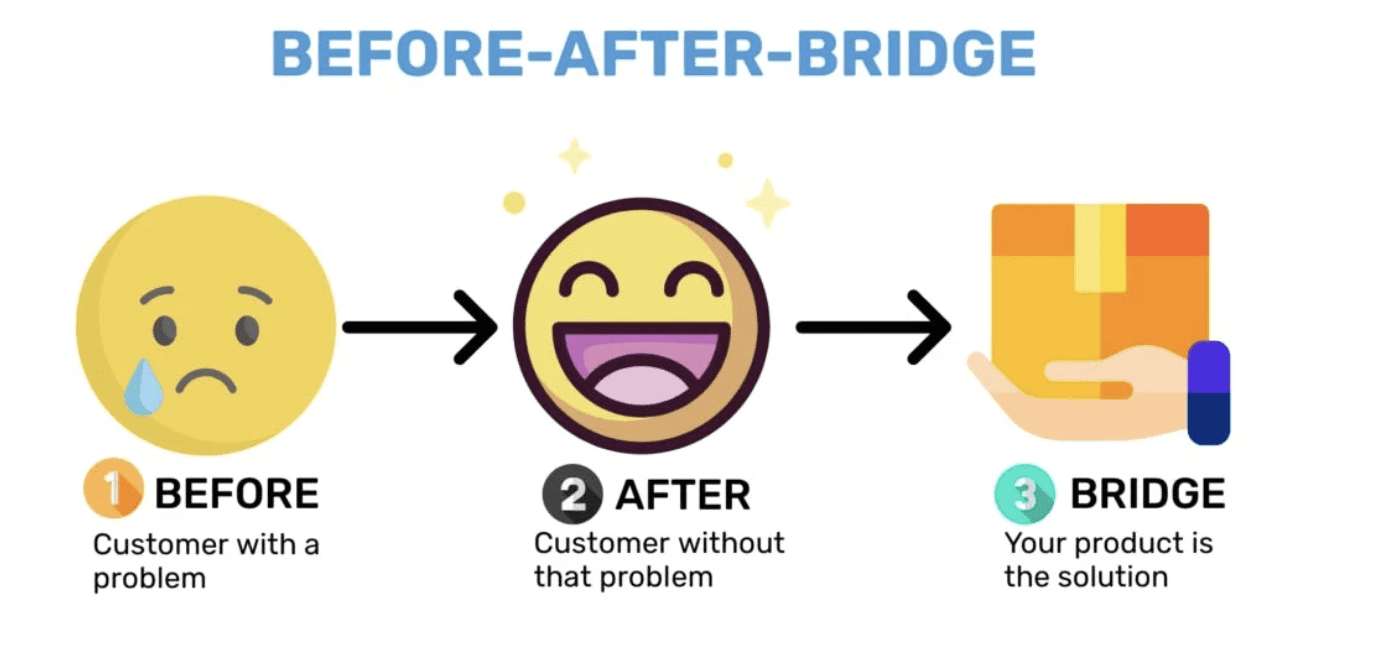
The BAB structure is a persuasive storytelling technique that paints a picture of the viewer’s current problem (Before), shows them what life could be like without that problem (After), and then presents your product or service as the bridge that can get them there.
1. Before
Start by painting a vivid picture of the viewer’s current problem. Describe the pain points and frustrations they are experiencing.
2. After
Next, show them what life could be like without that problem. Describe the ideal scenario and the benefits they could enjoy.
3. Bridge
Finally, present your product or service as the bridge to get from the “Before” to the “After.” Explain how your offering can transform their situation and make the ideal scenario a reality.
BAB Example:
“Struggling to find a reliable ride during rush hour? (Before).
Imagine always having a ride at your fingertips, no matter the time or place (After).
Uber is the bridge to that reality, providing fast, reliable transportation whenever you need it (Bridge).”
8. The Question + Answer (Q&A)

The Q&A structure involves posing questions that your potential customers might have and then answering them in your explainer video. This structure is particularly effective for FAQ videos or when you want to address common queries about your product or service.
1. Pose Common Questions
Start by posing common questions that your audience might have about your product or service. These should be relevant and frequently asked queries.
2. Provide Clear Answers
Next, provide clear and concise answers to each question. Make sure the answers are informative and address the concerns or needs of your audience.
3. Highlight Key Benefits
While answering the questions, highlight the key benefits of your product or service. This helps to reinforce the value and advantages of your offering.
Q&A Example:
“Wondering how Uber can benefit your daily commute? With Uber, you can book a ride from your phone, track your driver in real-time, and enjoy a cashless payment system.
Not sure how to get started? Our app guides you through the process, from downloading to booking your first ride.”
9. The Testimonial

The Testimonial structure involves using customer testimonials or case studies to demonstrate the effectiveness of your product or service. This structure can build trust and credibility, as viewers often find peer reviews more convincing than sales pitches.
1. Introduce the Customer
Begin by introducing the customer who is providing the testimonial. Provide some context about who they are and their experience.
2. Describe the Problem
Next, have the customer describe the problem they were facing before using your product or service. This sets the stage for their testimonial.
3. Explain the Solution
Have the customer explain how your product or service provided a solution to their problem. They should highlight specific features or aspects that were particularly helpful.
4. Showcase the Benefits
Finally, have the customer describe the benefits they experienced after using your product or service. This should include any positive changes or improvements in their situation.
Testimonial Example:
“Don’t just take our word for it. Listen to Alex, a daily commuter who uses Uber: ‘I was tired of unreliable taxis and long waits. After switching to Uber, my commute has never been easier. I can book a ride instantly, track my driver, and pay through the app. It’s a game-changer for my daily routine.'”
Tips + Best Practices for Writing an Explainer Video Script
Crafting an effective explainer video script is both an art and a science. It requires a balance of creativity and strategic thinking. Here are some tips and best practices to help you write a script that engages your audience and communicates your message effectively.
Understand Your Audience
Before you start writing your explainer video script, it’s crucial to understand your audience. Who are they? What are their pain points? What kind of language do they use? The more you know about your audience, the better you can tailor your script to their needs and interests.
Keep It Short + Simple
The best explainer videos are short and to the point. Aim for a script that’s no longer than 90 seconds. This is about as long as your audience can maintain their attention.
Also, keep your language simple and avoid jargon. Remember, the goal of your explainer video is to make complex ideas easy to understand.
Focus on Benefits, Not Features
While it’s important to highlight the features of your product or service, your audience is more interested in what those features can do for them. So, focus on the benefits. How can your product or service solve their problem or make their life better?
Use a Conversational Tone
Explainer videos should feel like a conversation with the viewer. So, write your script in a conversational tone. Use “you” to address the viewer directly and “we” to refer to your company. This can make your video feel more personal and engaging.
Include a Call to Action
At the end of your explainer video, tell your viewers what you want them to do next. This could be visiting your website, signing up for a free trial, or contacting your sales team. A clear call to action can guide your viewers to the next step in their customer journey.
The Power of Storytelling in Explainers
Storytelling is a powerful tool in explainer videos. It can make your video more engaging, memorable, and persuasive. Here are some ways to incorporate storytelling into your explainer video script.
Use Characters + Conflict
Characters and conflict are the heart of any good story. In your explainer video, the character could be your viewer or a persona that represents your target audience.
The conflict could be the problem that your product or service solves. By showing how your character overcomes their conflict with your product or service, you can create a compelling story that resonates with your viewers.
Follow a Clear Structure
A good story has a clear structure. This could be the classic three-act structure (setup, confrontation, resolution), the Hero’s Journey, or one of the structures we discussed earlier.
A clear structure can guide your viewers through your story and make your message more understandable.
Evoke Emotion
Emotion is a powerful driver of engagement and decision-making. By evoking emotion in your explainer video, you can make your viewers more invested in your story and more likely to take action.
This could be the excitement of a new discovery, the relief of a problem solved, or the joy of a better future.
The Role of Humor in an Explainer Video Scripts
Humor can be a great way to make your explainer video more engaging and memorable. But it’s important to use it wisely. Here are some tips for incorporating humor into your explainer video script.
Know Your Audience
Humor is subjective. What one person finds funny, another might find offensive or confusing. So, it’s important to know your audience and what kind of humor they appreciate.
Be Subtle
When it comes to humor, less is often more. A subtle joke or a clever play on words can be more effective than a slapstick comedy routine. Remember, the goal of your explainer video is to communicate your message, not to make your viewers laugh out loud.
Use humor to enhance your message, not to distract from it.
Stay On Brand
While humor can make your explainer video more engaging, it’s important to stay on brand.
If your brand is serious and professional, a humorous explainer video might not be the best fit. On the other hand, if your brand is fun and quirky, humor can be a great way to express your brand personality.
The Importance of Visuals in Explainer Videos
While the script is the backbone of your video, the visuals are what bring your script to life. Here are some tips for aligning your script with your visuals.
Show, Don’t Tell
One of the main benefits of explainer videos is their ability to show rather than tell. Instead of explaining a complex process in words, you can show it in action. So, when writing your script, think about how you can translate your words into visuals.
Use Metaphors + Analogies
Metaphors and analogies can be a great way to explain complex ideas in a simple and visual way. For example, you could compare a complex process to a journey, with each step of the process being a stop along the way.
Align Your Visuals with Your Script
Your visuals should complement your script, not distract from it. So, make sure your visuals align with your script. If your script talks about a problem, show that problem in your visuals. If your script presents a solution, show that solution in action.
Conclusion
Creating an effective explainer video script involves understanding your audience, structuring your message clearly, and making the most of storytelling techniques.
By using proven script structures like PAS, AIDA, the Hero’s Journey, FAB, BAB, the 5W’s, Q&A, Testimonials, and Comparisons, you can craft scripts that engage viewers and convey your message powerfully.
Remember to keep your script short, focus on benefits, use a conversational tone, and always include a clear call to action.
Visuals play a critical role in bringing your script to life, so ensure they complement and enhance your narrative.
Incorporating humor and emotion can make your video more memorable and engaging.
By following these best practices and leveraging the power of storytelling, you can create explainer videos that not only inform and educate but also captivate and inspire your audience.
Ready to take your explainer videos to the next level? Contact us today or book a free consultation here.


