Introduction
If you’re passionate about motion design and want to create captivating 2D explainer animations, you’ve come to the right place. In this comprehensive guide, we’ll walk through the entire process of building a polished explainer animation using Adobe After Effects — from importing your assets to rigging characters, animating key elements, and adding smooth transitions and camera movements. This tutorial is inspired by expert techniques shared by Nijat Ibrahimli, a seasoned motion designer known for clear, step-by-step After Effects workflows.
Whether you’re a beginner or looking to sharpen your animation skills, this detailed walkthrough will equip you with practical tips, tricks, and expressions that bring your animations to life. Let’s dive in!
Getting Started: Importing and Organizing Your Assets
The first step in creating any animation project is to gather and import your assets efficiently. Here’s the recommended workflow to begin:
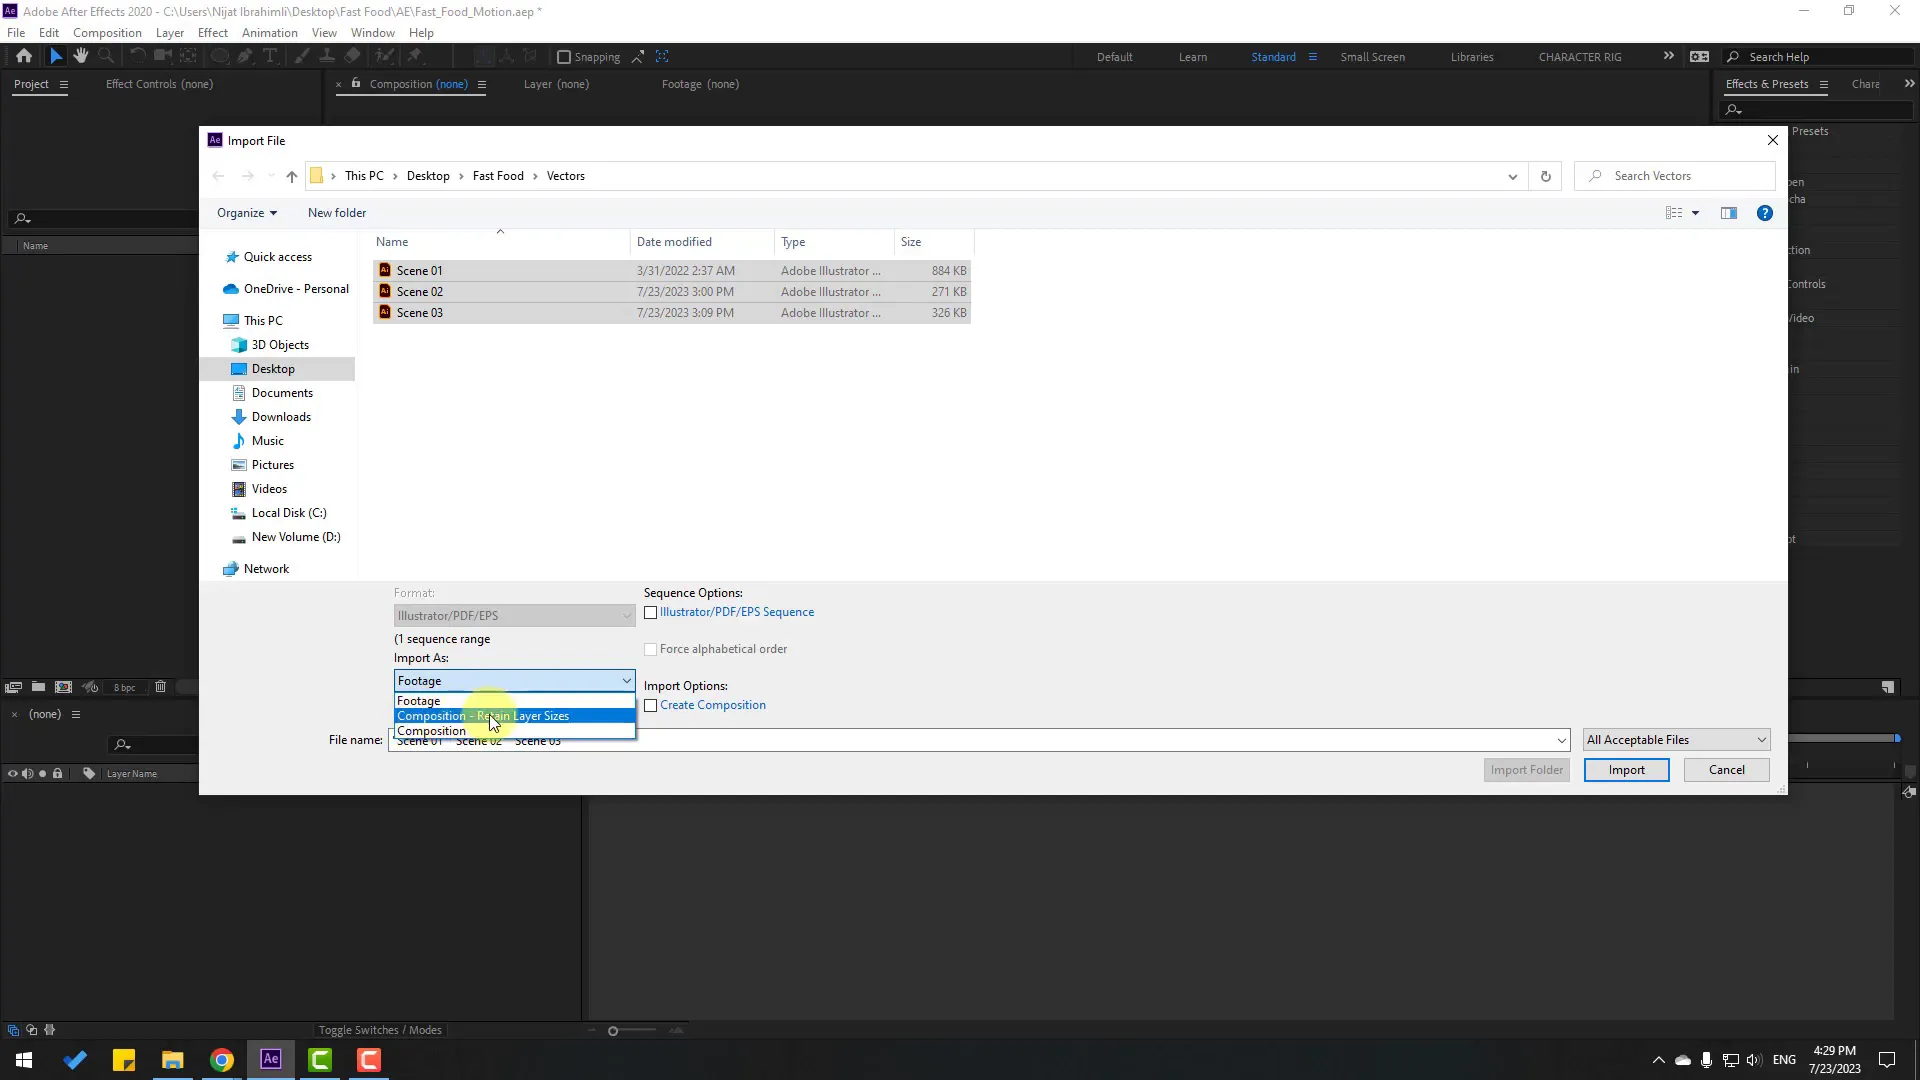
- Import your project files: Right-click in the Project panel and select Import File. Choose the three key scenes that will form the basis of your explainer animation. These scenes could be prepared in Adobe Illustrator or any vector software.
- Import as composition: When importing, change the import type to Composition – Retain Layer Sizes. This ensures that your layers retain their original positions and sizes, making it easier to animate individual parts.
- Open your first scene: Once imported, open the first composition to begin setting up your animation.
Organizing your assets upfront helps maintain a smooth workflow and makes it easier to rig and animate your characters and elements later on.
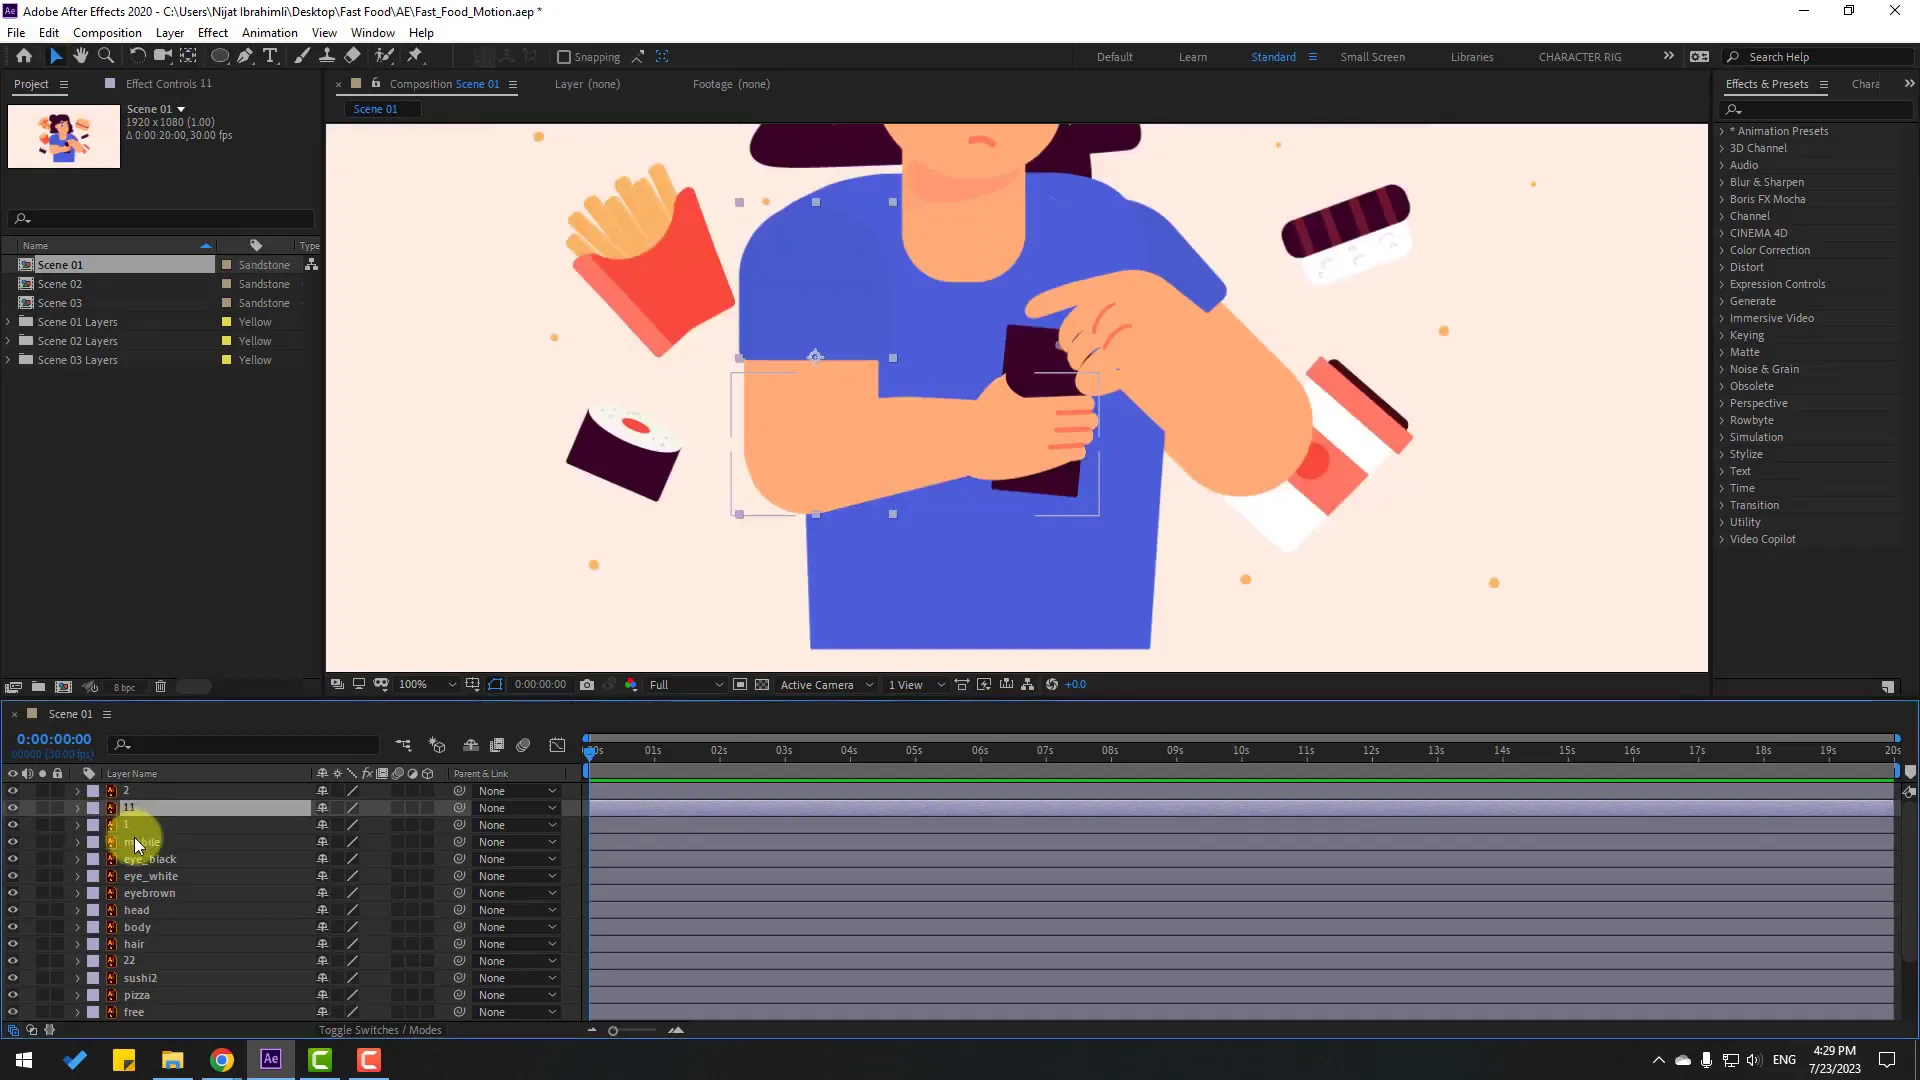
Rigging Your Character: Setting Anchor Points and Parenting Layers
A crucial part of 2D animation is rigging your character so that movements look natural and are easy to control. Here is how you can approach rigging in After Effects:
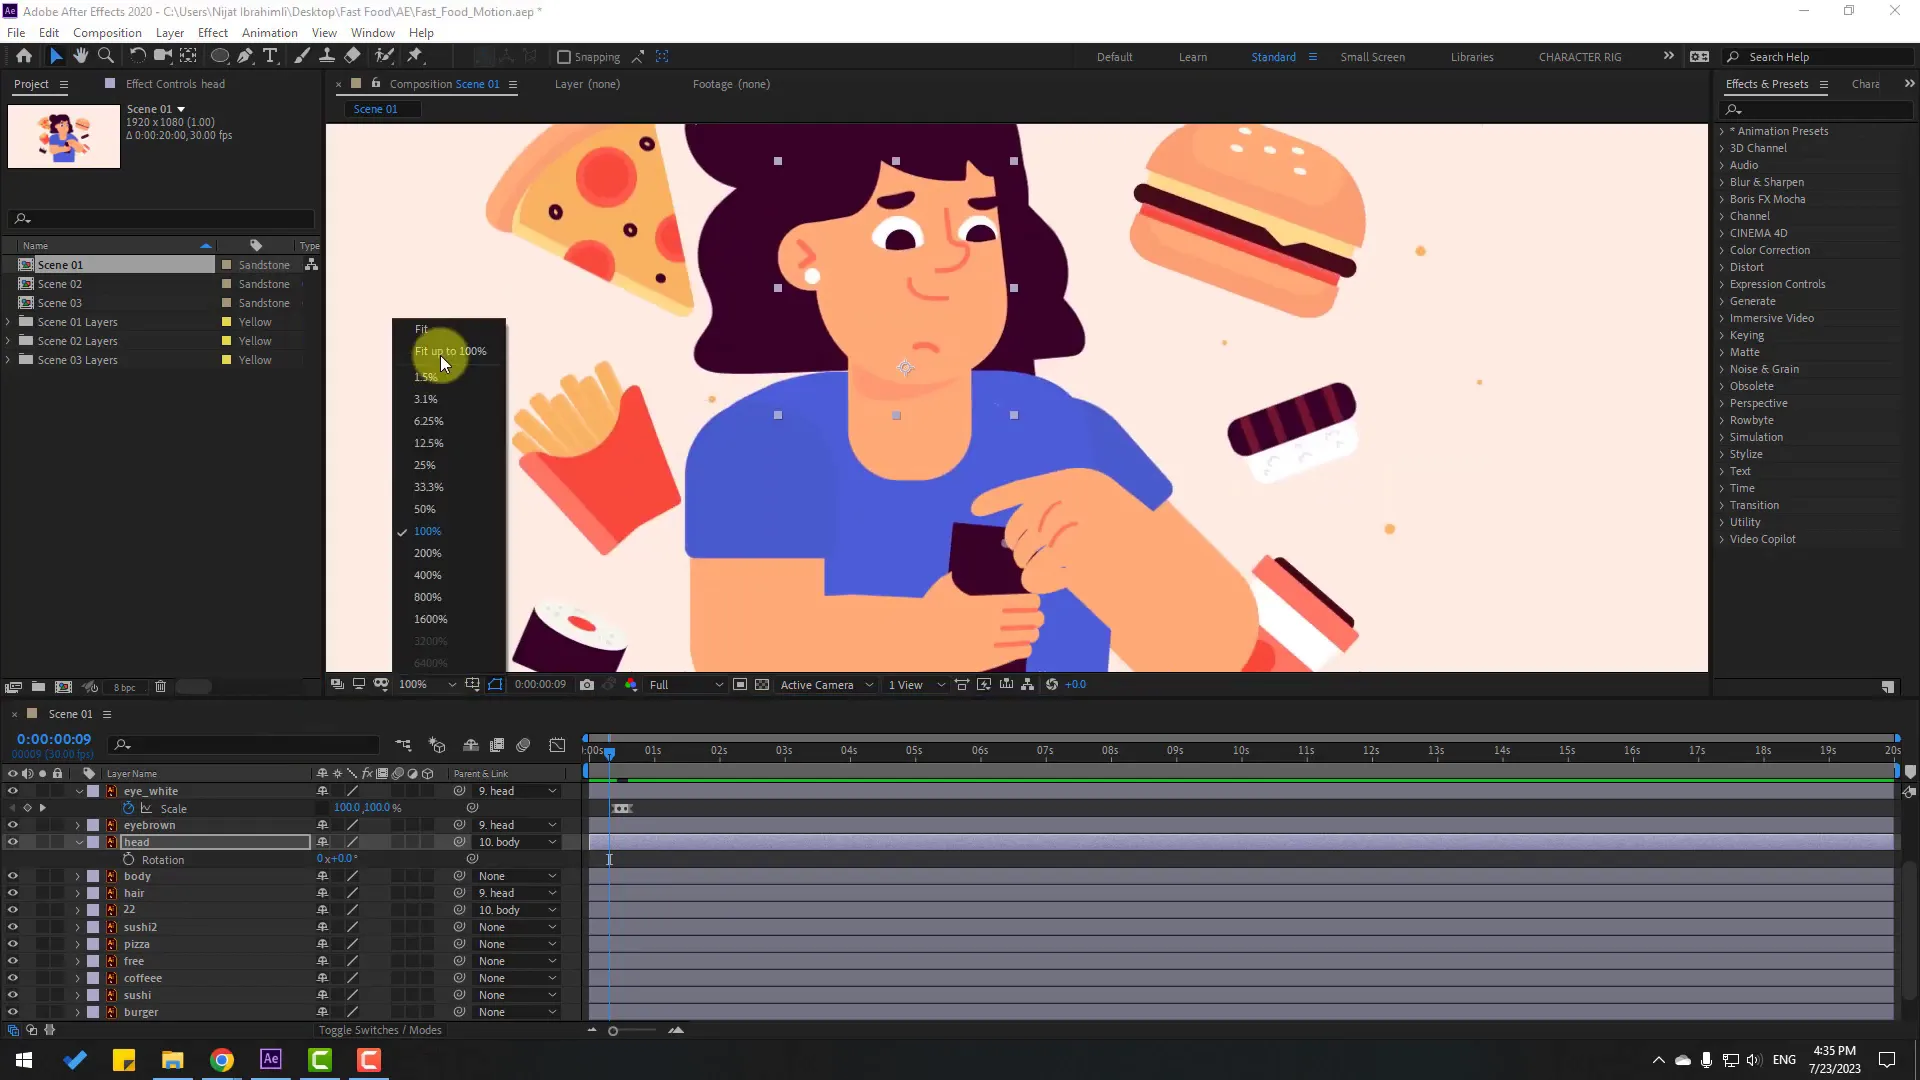
- Solo individual layers: To focus on specific parts, solo layers such as the arm, hand, or body parts you want to animate.
- Adjust anchor points: Use the Pan Behind Tool (shortcut
Y) to move anchor points to natural pivot locations, such as joints. For example, move the anchor point of the arm layer to where the shoulder would rotate. - Parent layers: Link child layers to their parent layers using the pick whip or the parent dropdown. For instance, parent the hand to the arm so when the arm rotates, the hand follows.
- Test rotations: Open the rotation property (shortcut
R) and rotate your layers to ensure the rig behaves as expected.
This rigging approach allows you to animate complex character movements by controlling fewer layers, making your workflow efficient and your animations natural.
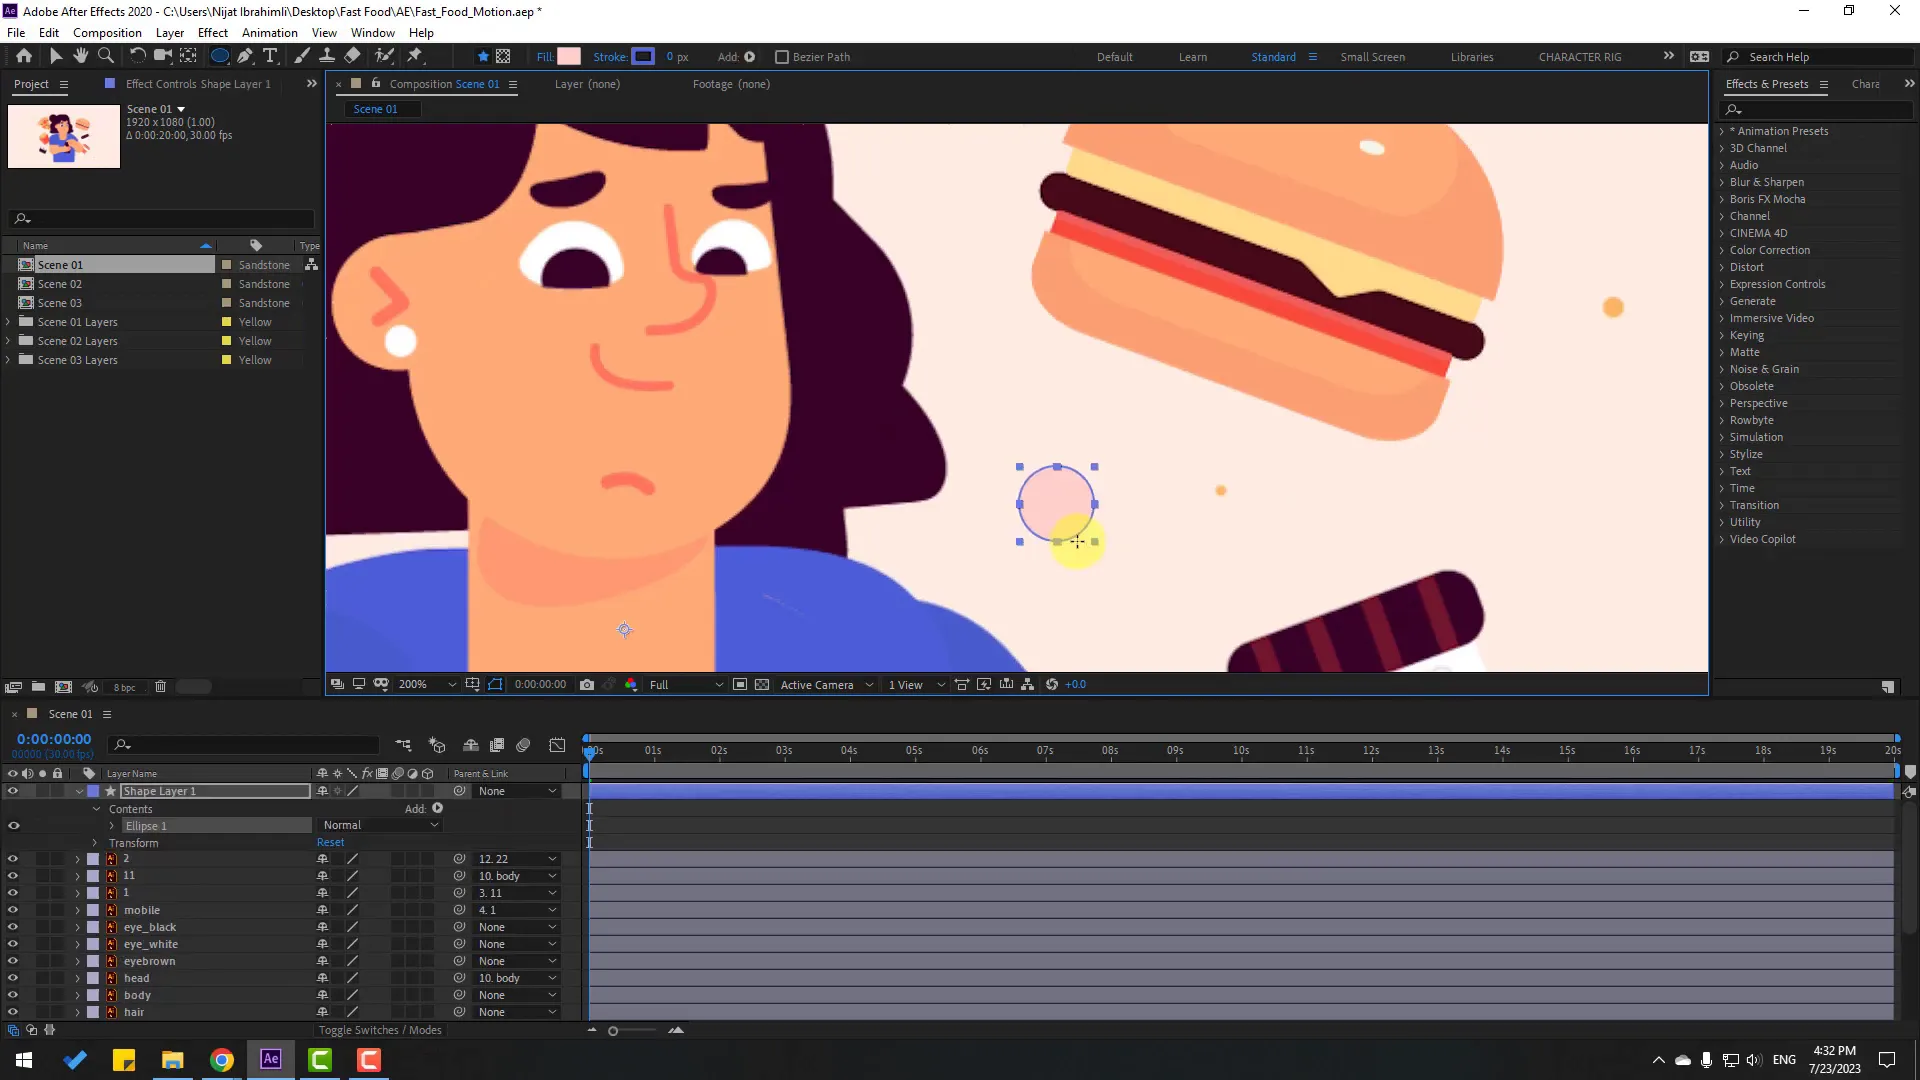
Creating Expressive Eyes with Shape Layers and Alpha Mattes
Animating expressive eyes can add a lot of personality to your character. Here’s how to create and animate eyeballs using shape layers and alpha mattes:
- Create ellipse shapes: Use the Ellipse Tool to draw two ellipses representing the eyeballs. Hold
Shiftto keep them perfectly round. - Color the eyeballs: Use the eyedropper tool to pick colors from your character illustration for the eyeballs and iris.
- Use Alpha Mattes: Duplicate the white part of the eye layer and use the Toggle Switches/Modes to set the eyeball layer to Alpha Matte. This restricts the movement of the iris within the white eyeball shape.
- Animate eyeball movement: By moving the iris (eyeball) layer inside the matte, you can simulate natural eye movements.
- Scale and position: Adjust the scale of the iris to add subtle blinking or focus effects.
This technique allows for a smooth and realistic eye animation that enhances the character’s expressiveness.
Animating Limbs and Body Movements with Rotation Keyframes
Once your character is rigged, you can start animating by setting rotation keyframes. Here’s a structured approach:
- Select limb layers: For example, select the hand or arm layer.
- Open rotation property: Press
Rto reveal rotation. - Create keyframes: At the start of the timeline, click the stopwatch to create your first keyframe.
- Move forward in time: Use shortcuts like
Shift + Page Downto jump ahead. - Change rotation values: Rotate the limb to the desired position to create new keyframes.
- Use easy ease: Right-click keyframes and select Keyframe Assistant > Easy Ease for smooth transitions.
- Adjust timing in graph editor: Use the graph editor to fine-tune the motion curves for more natural movement.
Animating limbs with rotation is a foundational skill that, combined with well-placed anchor points and parenting, produces fluid character movements.
Adding Secondary Motion with Puppet Pins and Expressions
To add life-like secondary motion, such as subtle hand or finger movements, After Effects’ Puppet Pin tool is invaluable. Here’s how to incorporate it:
- Create control objects: Add null objects as controllers for puppet pins to enable easy manipulation.
- Add puppet pins: Select the Puppet Pin tool and place pins on key deformation points like knuckles or joints.
- Link pins to nulls: Use expressions to connect pins to their respective null objects, allowing you to animate pins indirectly.
- Animate controllers: Animate the null objects to create natural, subtle deformations.
- Loop animations: Use expressions like
loopOut()to create continuous, smooth looping motions.
This approach enhances the realism of your character’s movements without manually adjusting each mesh deformation frame by frame.
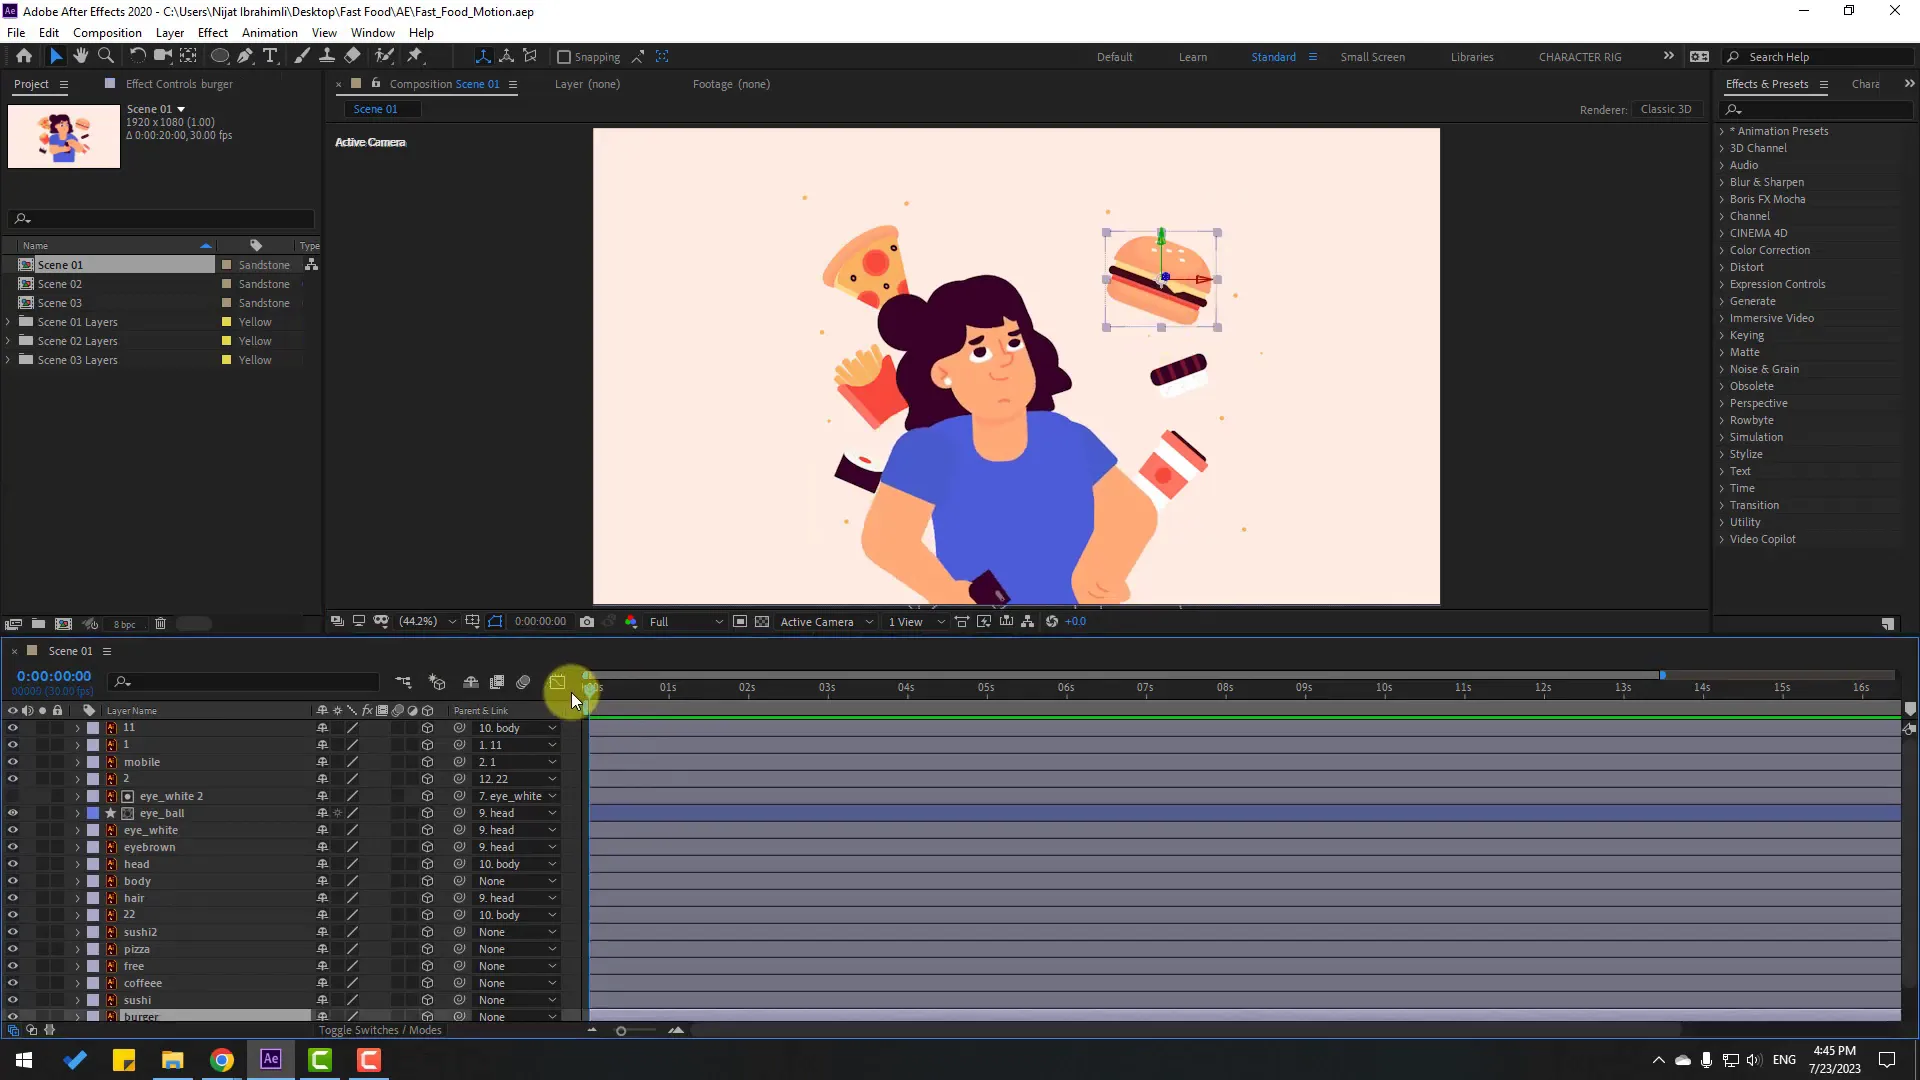
Animating Fast Food Elements: Position and Rotation Keyframes
In the explainer animation, food elements like burgers, pizza, and sushi are animated to add dynamism and storytelling flair. Here’s the process:
- Animate position: Set position keyframes to move food items along the timeline, for example, moving a burger upwards or sideways.
- Add rotation: Rotate the food elements slightly to give a playful, dynamic feel.
- Smooth motion: Apply easy ease to all keyframes and adjust the velocity curves in the graph editor for fluid movement.
- Copy and paste animations: Duplicate keyframes across similar food layers to maintain consistent animation style.
- Layer order: Arrange layers so that certain food elements appear behind or in front of others to create depth.
Animating these elements with position and rotation keyframes adds life and engagement to your explainer scene.
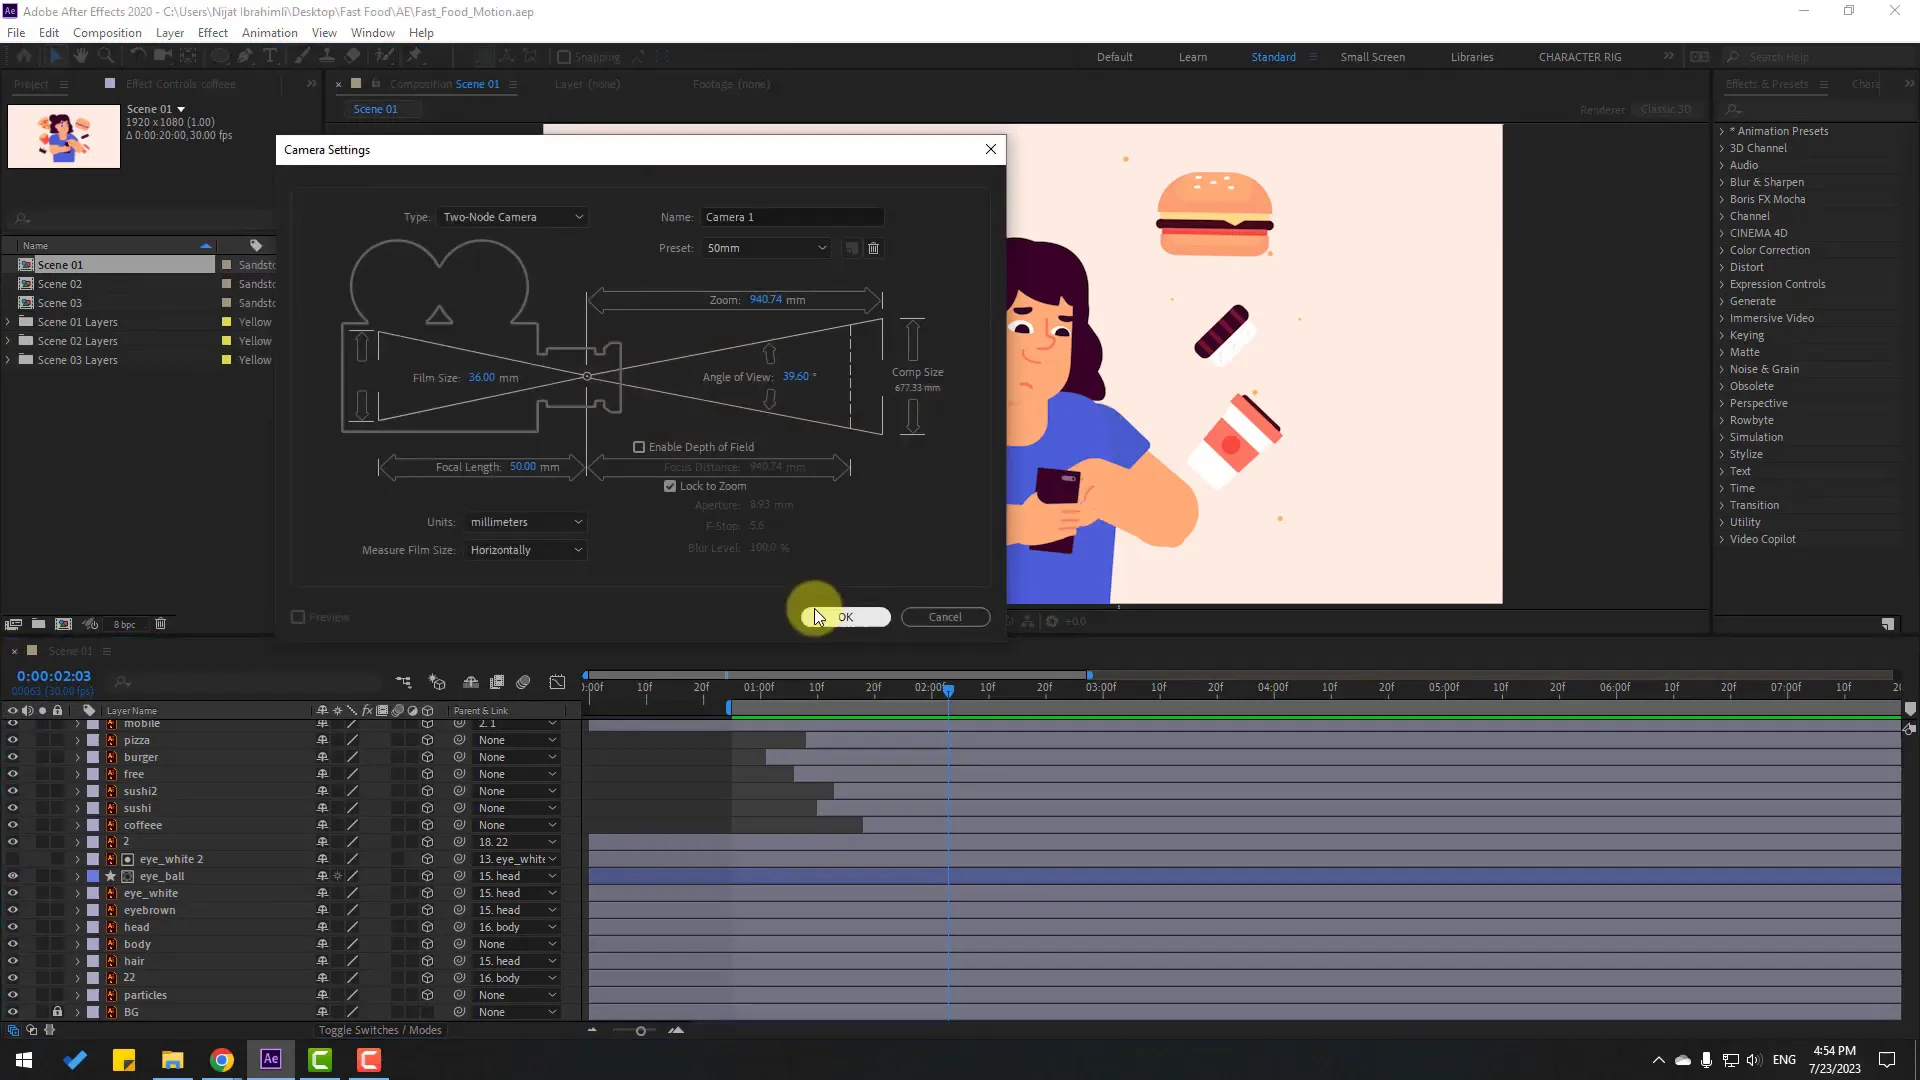
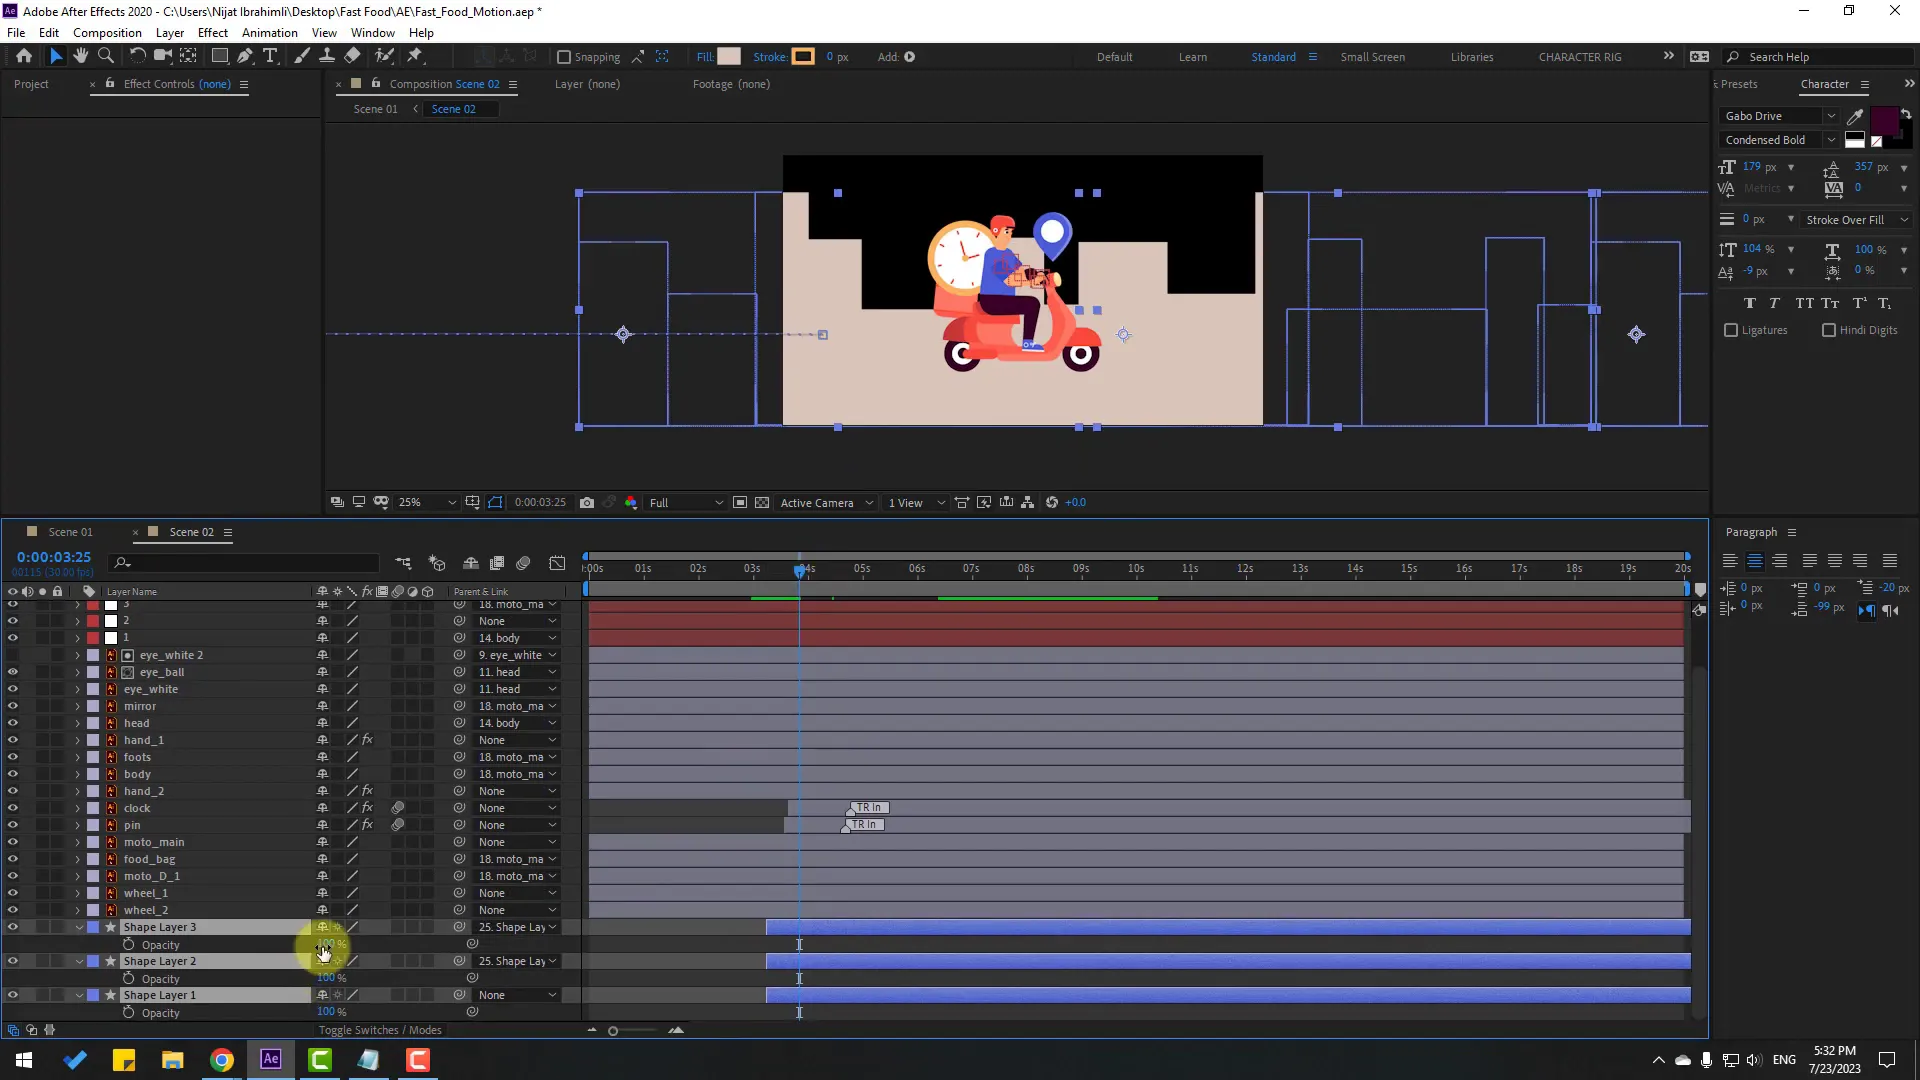
Enhancing Scenes with Camera Movements and 3D Layers
To add depth and cinematic appeal, use After Effects’ 3D layers and camera tools:
- Enable 3D layers: Select your layers and enable the 3D layer switch to allow movement in 3D space.
- Create a new camera: Add a camera layer (Layer > New > Camera) with default settings.
- Use a camera controller: Create an orbit null controller to easily animate camera rotations and pans.
- Animate camera: Set position keyframes on the camera or controller to zoom, pan, or orbit around your scene.
- Smooth easing: Use easy ease and graph editor adjustments for natural camera moves.
Camera movements help guide the viewer’s focus and add professional polish to your animation.
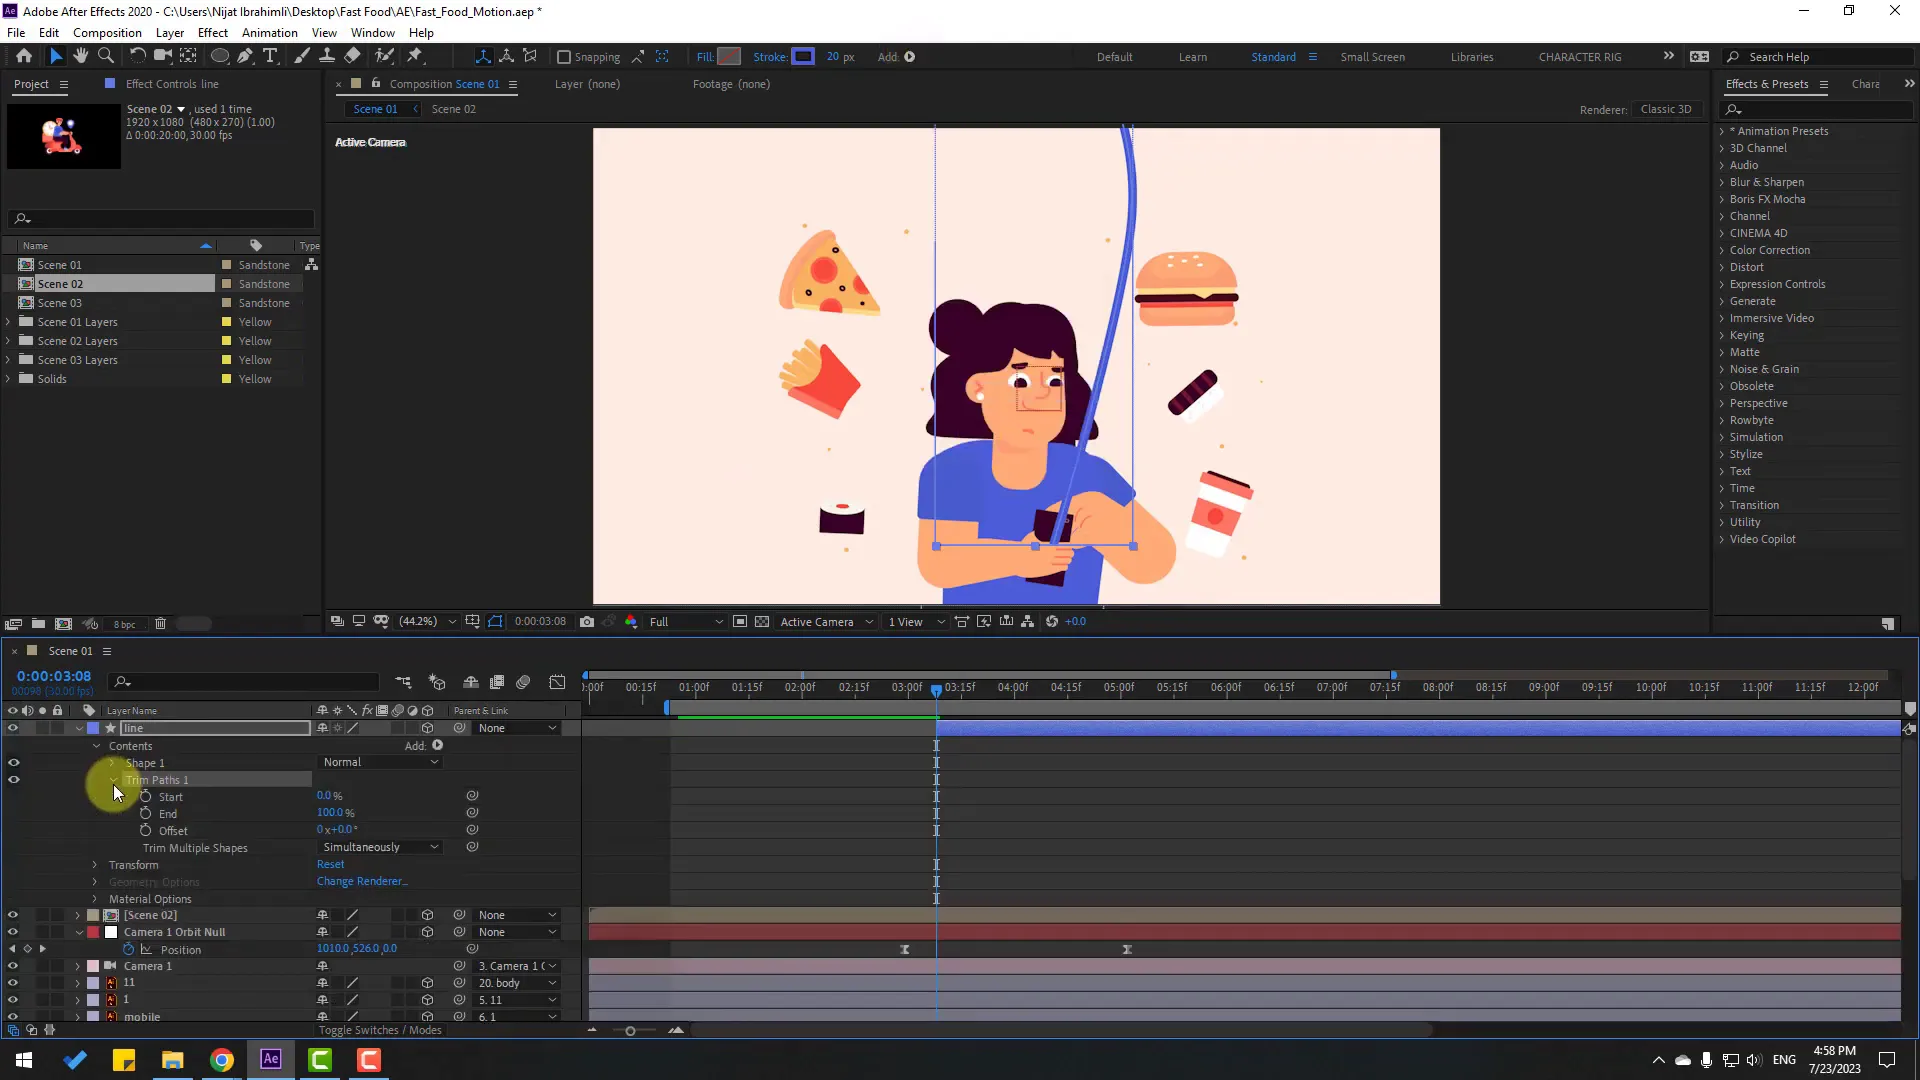
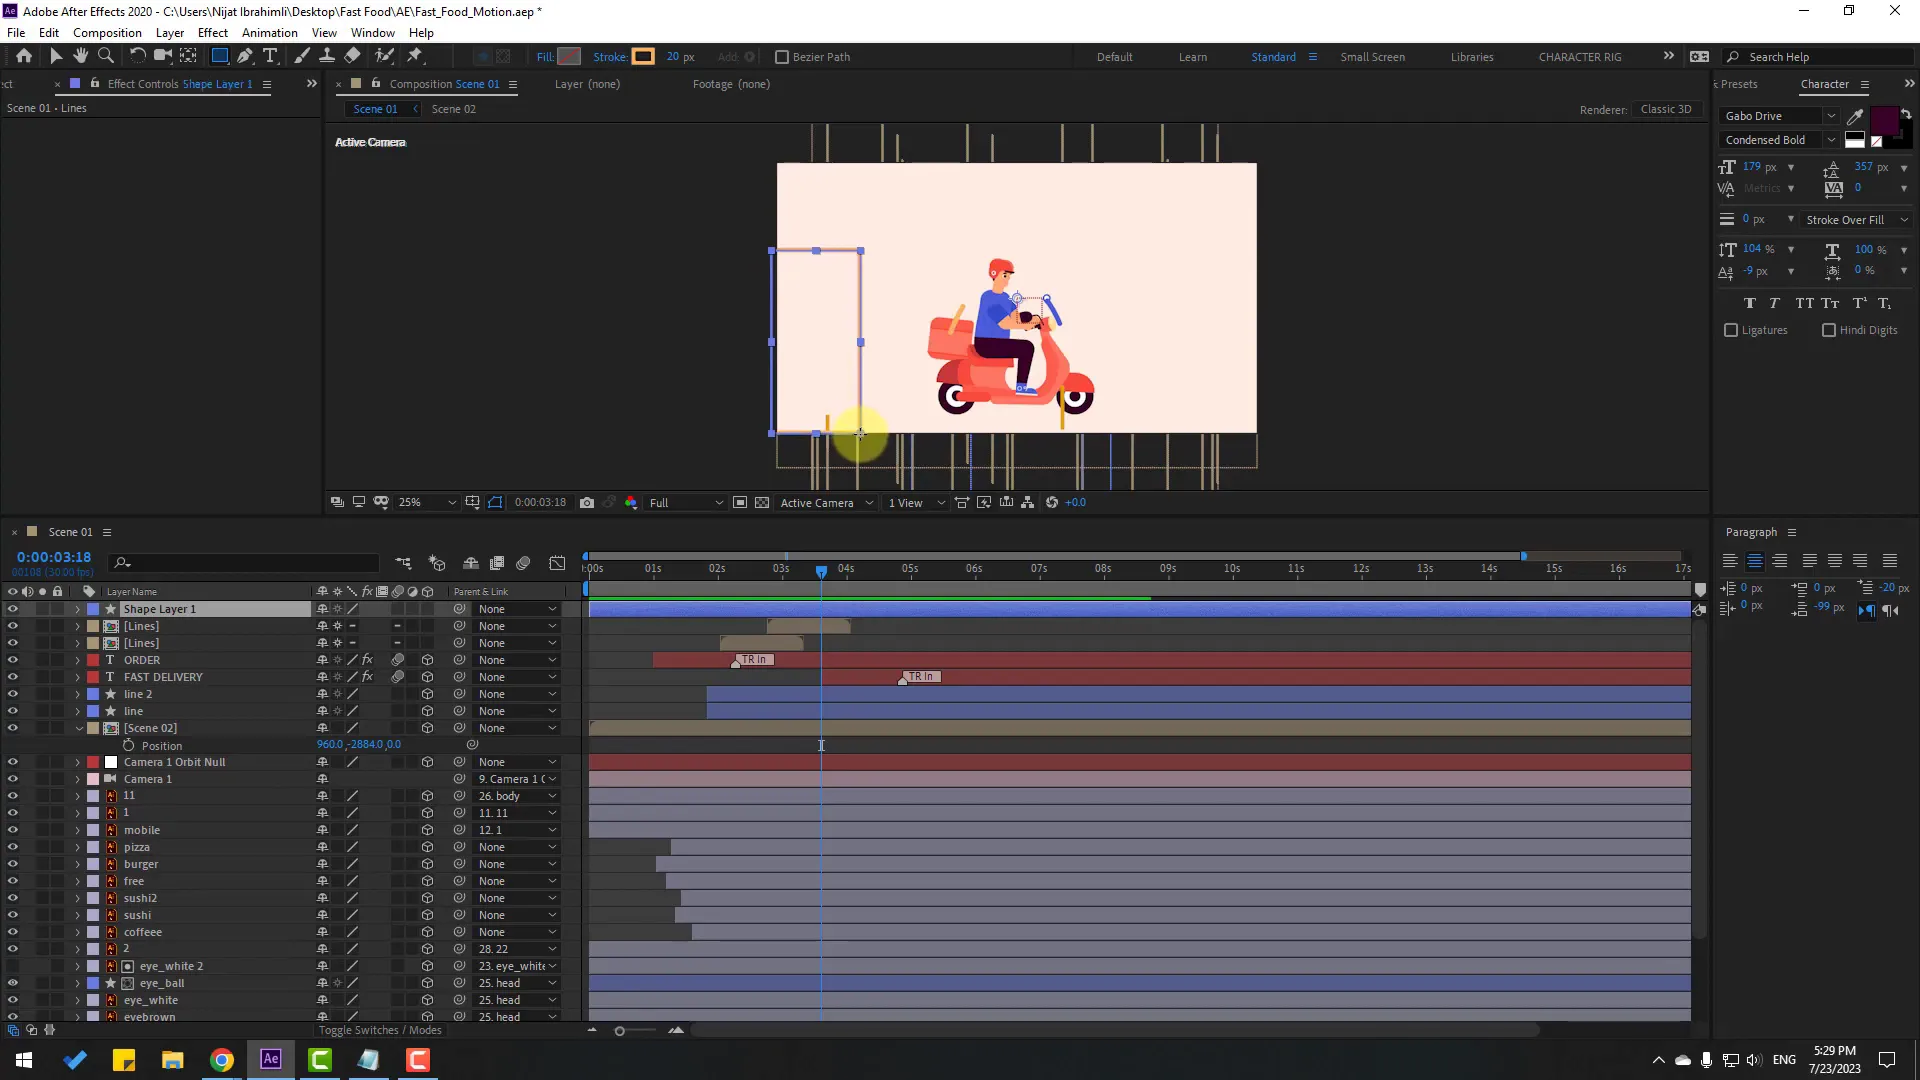
Animating Lines and Shape Layers for Visual Interest
Lines and shape layers can be animated to add transitions, highlights, or decorative elements. Here’s a step-by-step approach:
- Create a shape layer: Use the Pen tool to draw lines or shapes as needed.
- Adjust stroke properties: Set stroke width, color, and round caps for smooth edges.
- Animate strokes with Trim Paths: Add the Trim Paths animator to the shape layer and keyframe the start or end properties to animate the stroke drawing.
- Smooth timing: Use easy ease and adjust the graph editor for natural acceleration and deceleration.
- Duplicate and vary: Copy shape layers and change colors or stroke widths for layered effects.
This technique is excellent for creating animated infographics, pointers, or decorative transitions in your explainer videos.
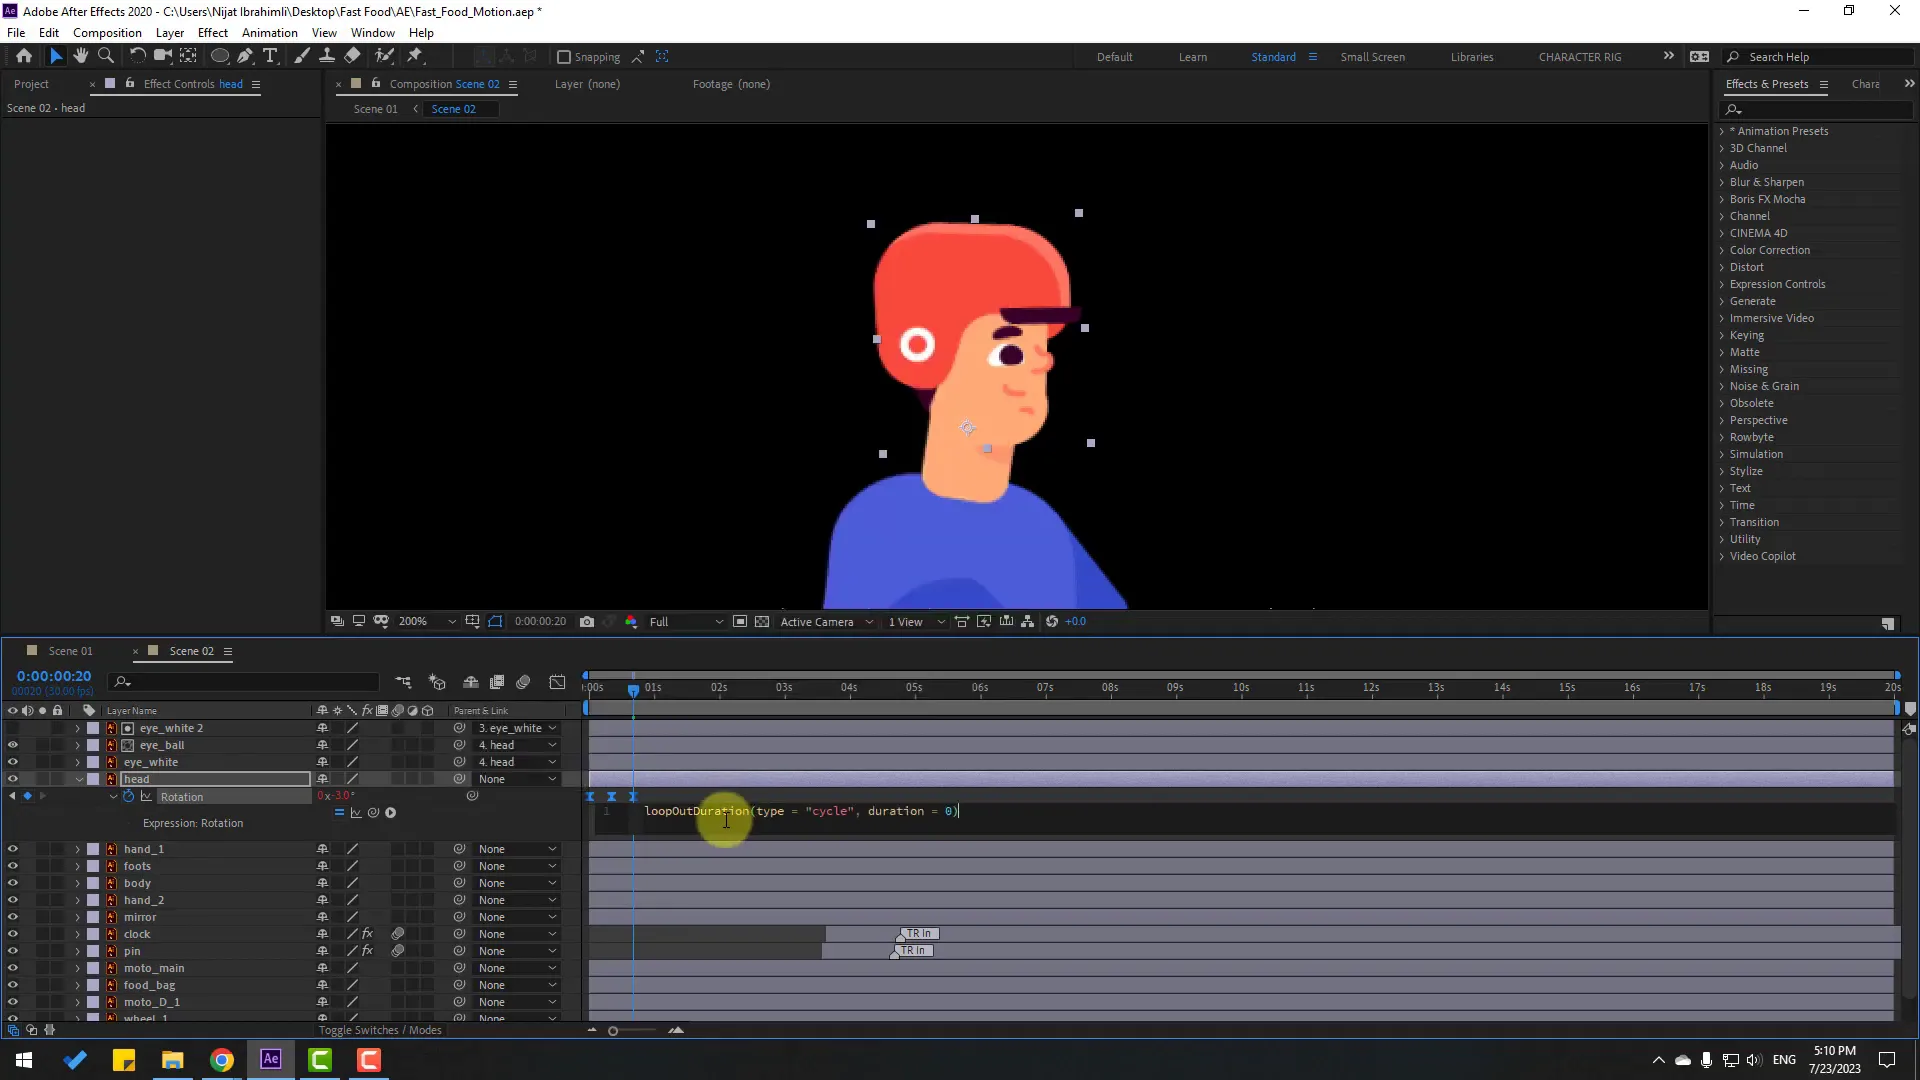
Bringing It All Together: Looping Animations and Expression Controls
Expressions in After Effects are powerful tools to automate repetitive tasks and create seamless loops. Here’s how to apply them in your project:
- LoopOut expression: Apply
loopOut("cycle")orloopOut("pingpong")on rotation or position properties to create infinite looping animations. - Time expressions: Use the
timeexpression combined with multiplication to generate continuous rotations or movements. - Link properties: Use expressions to connect puppet pins to null controllers, or link rotations of child layers to a main controller.
- Randomize timing: Offset keyframes or use expressions to stagger animations for a more natural look.
- Use sliders for control: Add Slider Control effects to null objects to easily adjust animation intensity or speed without digging into keyframes.
Mastering expressions allows you to create complex animations that are easy to edit and maintain.
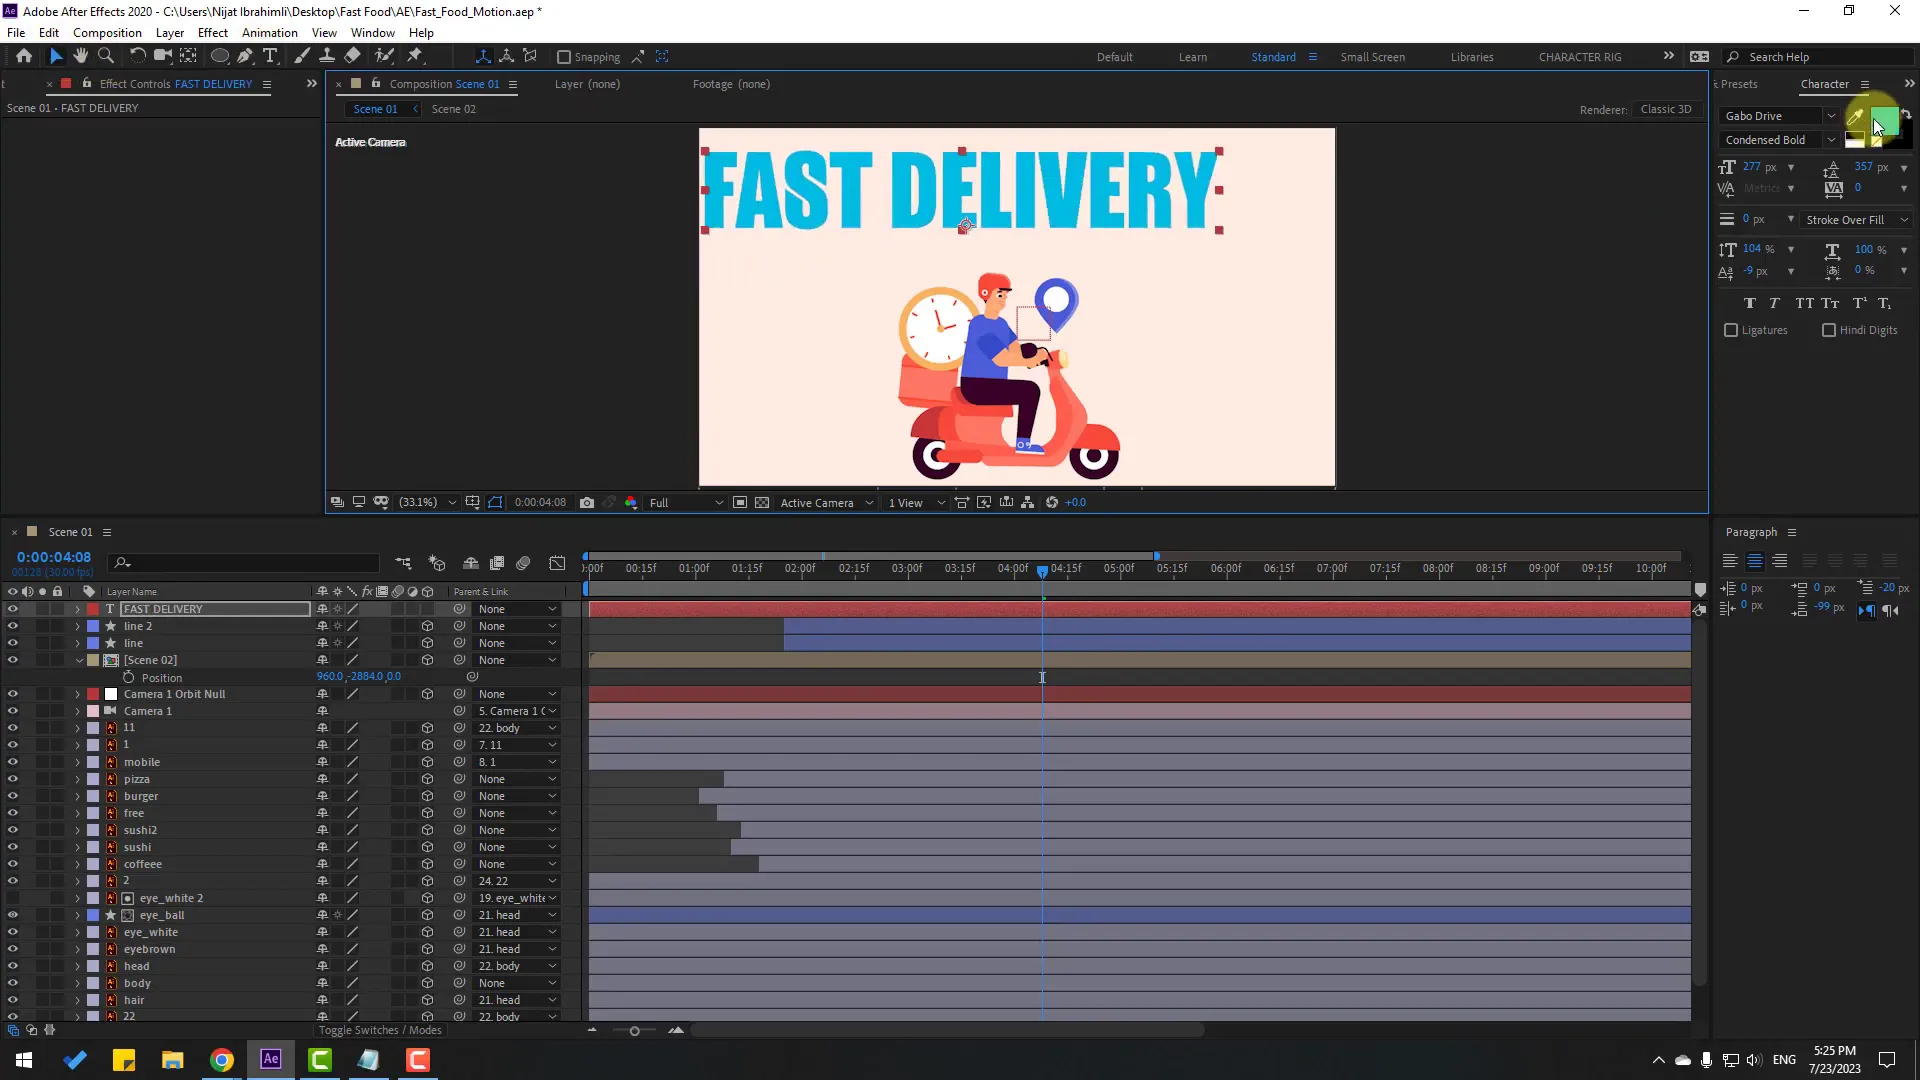
Adding Text Elements and Typography Animation
Text plays an important role in explainer videos, providing context and emphasis. Here’s how to animate text effectively:
- Create text layers: Use the Text tool to add your titles or captions.
- Choose appropriate fonts and colors: Select fonts that match your animation style and pick colors consistent with your palette.
- Animate with presets: Use After Effects’ built-in text animation presets or create custom animations by keyframing properties like opacity, position, and scale.
- Enable 3D for text: Convert text layers to 3D to add depth and integrate with camera movements.
- Use motion blur: Enable motion blur for text layers to enhance the fluidity of animations.
Animated text draws attention and helps communicate your message clearly.
Creating Background Elements and Environmental Details
Backgrounds set the tone and context for your animation. Here’s how to design and animate background elements:
- Use shape layers: Build background elements like buildings or abstract shapes using rectangles and other shapes.
- Adjust colors: Use darker or muted colors for backgrounds to keep focus on the main animation.
- Duplicate and scale: Create depth by duplicating shapes and scaling them differently.
- Animate position: Slightly move background layers horizontally or vertically to add subtle parallax effects.
- Layer management: Place background layers behind all main elements to avoid visual clutter.
Well-designed backgrounds enrich your animation and maintain viewer engagement without distraction.
Final Touches: Timing Adjustments and Polishing
Fine-tuning the timing of your animations is essential to achieve a professional look. Here’s how to polish your project:
- Review animation flow: Play back your animation and identify any timing issues or awkward transitions.
- Adjust keyframe positions: Move keyframes forward or backward to improve pacing.
- Use easy ease consistently: Ensure all keyframes have easing applied for smooth motions.
- Fix anchor points: Double-check that anchor points are correctly positioned to avoid unnatural rotations.
- Layer opacity fades: Animate opacity to fade elements in and out for smooth scene transitions.
- Group related layers: Use pre-compositions to organize complex scenes and simplify editing.
Taking time to refine timing and transitions elevates your animation from good to great.
Frequently Asked Questions (FAQ)
What software do I need to follow this animation workflow?
You will need Adobe After Effects for the animation process and Adobe Illustrator (or similar vector software) to prepare your artwork.
How do I rig a character for 2D animation in After Effects?
Rigging involves setting anchor points at natural pivot locations, parenting layers logically, and optionally using puppet pins with null objects for secondary motion controls.
Can I create looping animations easily?
Yes, by using expressions like loopOut() on keyframed properties, you can create seamless looping motions for rotations, positions, and more.
How do I animate eye movement realistically?
Use shape layers for the eyeball and iris, apply alpha mattes to constrain iris movement within the eyeball, and animate the iris position and scale for blinking or looking around effects.
What’s the best way to add depth to 2D animations?
Enable 3D layers and add a camera layer to animate depth through zooms, pans, and orbits, combined with parallax movement of background and foreground elements.
Are there any tips for managing complex animations?
Use pre-compositions to group related layers, organize your timeline with color labels, and use null controllers with expressions for easy control of multiple layers.
Conclusion
Creating a compelling 2D explainer animation may seem daunting at first, but by following a structured approach, you can produce professional-quality results. From importing and organizing your assets, rigging characters, and animating limbs with rotation keyframes, to adding secondary motion with puppet pins and expressions, every step builds toward a dynamic, engaging animation.
Don’t forget to enhance your scenes with camera movements, animated lines, and background details to add depth and visual interest. Finally, take time to refine your timing and transitions — the polish that turns good animations into great ones.
With these techniques and tips, you’ll be well on your way to mastering 2D explainer animation in After Effects. Keep experimenting, practicing, and pushing your creative boundaries. Good luck, and happy animating!
And, if you want to just want an explainer video production company to handle everything for you, don’t hesitate to reach out to us at Gisteo. Schedule a free consultation to discuss your video project.